
Sealing outdoors: rain, sun and movement — not a bathroom tube
Interior acrylic washes off in the rain. Cheap bathroom silicone is not built for UV and frost.
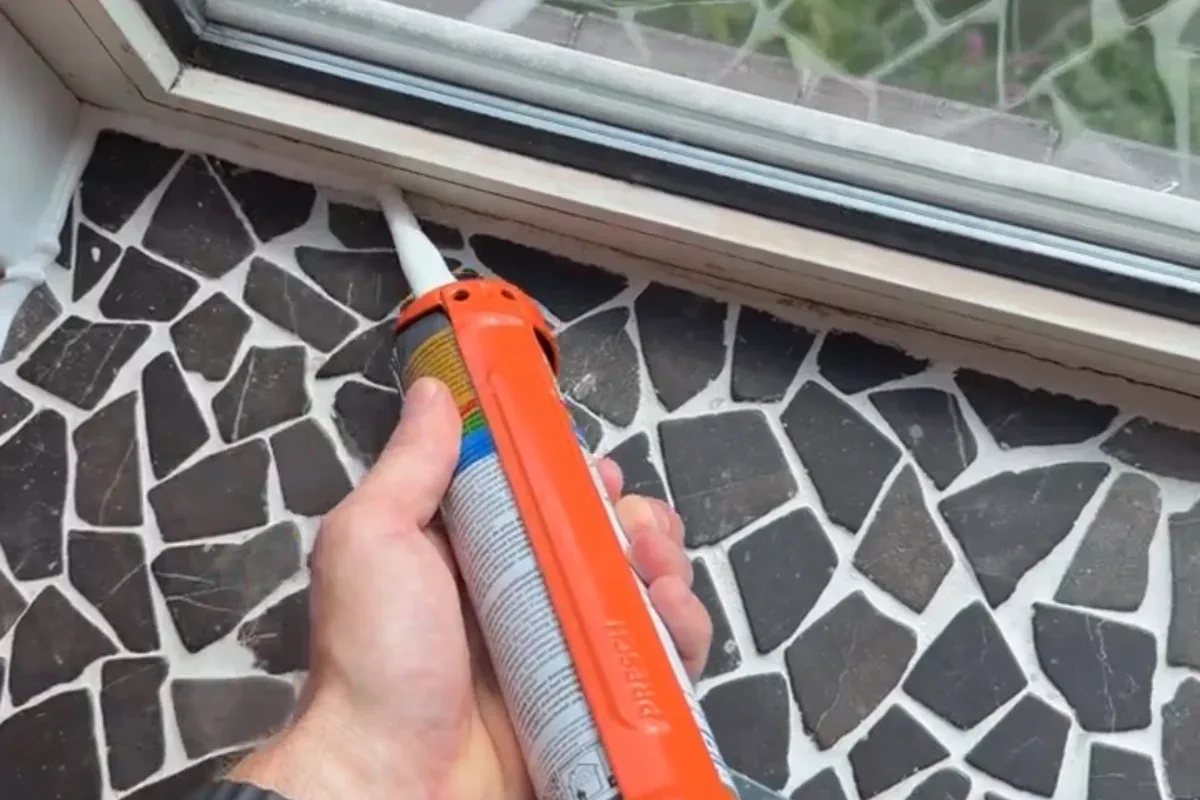
Outside I use a weather-grade neutral silicone or an exterior hybrid. If it has to be painted, hybrid or exterior acrylic — not shower sanitary silicone. Wet substrate, no. Porous stone, stone chemistry.
Outside is not the bathroom
Outdoors, UV, water and thermal movement all work on the joint at once. Brick, glass, timber and aluminium do not expand at the same rate when the profile is thirty degrees in summer and frozen in winter. An interior sealant — living-room acrylic or cheap bathroom silicone from the DIY shop — is not built for that life. It dries out, washes away or splits in the first hard season.
Façade joints (the face of the building) usually want a high movement class (in practice people talk about ISO classes around 20–25 %). That describes a typical product, not a years-long promise for your cartridge.
When to seal — and when not to
Yes if the joint sees UV, rain and frost: an exterior-grade neutral silicone or an elastic façade hybrid.
Yes, and paintable, if it will be painted afterwards: hybrid or a façade acrylic meant for that. The sanitary silicone I use in a shower does not take paint.
No on a soaked substrate. Trapped water kills adhesion and the joint peels from the flank.
No ordinary silicone on porous natural stone (open granite, sandstone and the like). Plasticisers can stain the edge for good. That is stone chemistry.
A structural crack in load-bearing brick or a foundation that has moved is not a sealant job. That is mortar or building repair.
Geometry, not just the tube
If the mass sticks to both flanks and the back (three-sided adhesion), it has nowhere to stretch. First frost, it splits down the middle or lets go of one side. Closed-cell PE backer rod: two faces, controlled depth. On wide joints the practical rule is wider than deep, not a packed well.
How I do it
- Cut out the old joint. Brush sand, moss and loose bits.
- Degrease the flanks with a technical cleaner, always in one direction.
- Push in backer rod a little wider than the gap.
- Primer only if the mineral soaks hard or the joint stays very wet.
- Gun from the bottom up, with no air pockets.
- Tool within the skin time, with a neutral tooling agent.
Do not seal in full sun: the skin forms too fast and you get blisters. Do not seal just before a downpour either. Cured sealant copes with water; fresh sealant does not.
Exceptions
Glass and movement joints that will not be painted: exterior neutral silicone usually lasts better on show. Frame-to-façade that will be painted: hybrid. Inside and outside are not the same product; that belongs on the window guide.
What I use on this joint
-
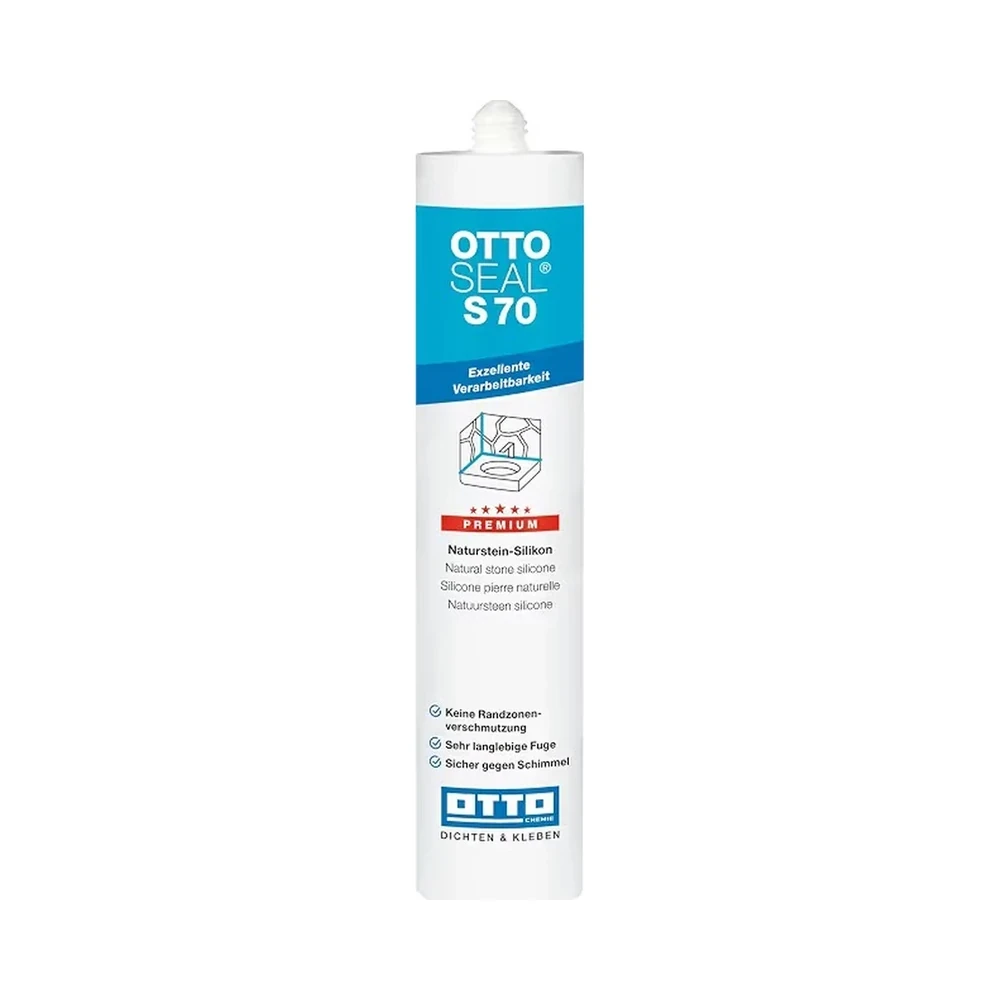
OTTOSEAL S70
For marble and natural stone — so the edge stays clean.
OTTOSEAL S70 Purchase link not available -
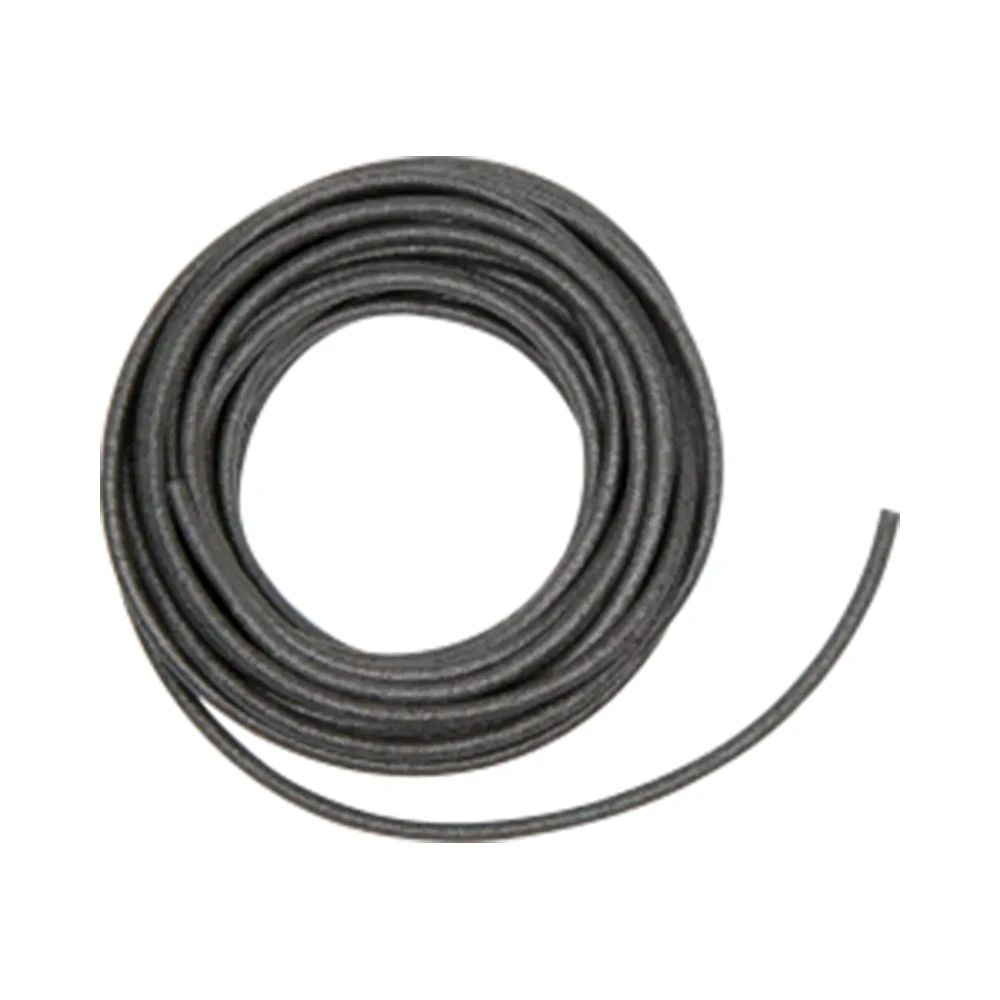
Backer rod
Closed-cell PE rod to control depth and prevent three-sided adhesion.
Backer rod Purchase link not available
-
Windows: paint inside, weather outside
Interior: paintable acrylic or hybrid, tighter to air than outside. Exterior: façade-grade neutral silicone or hybrid.
-
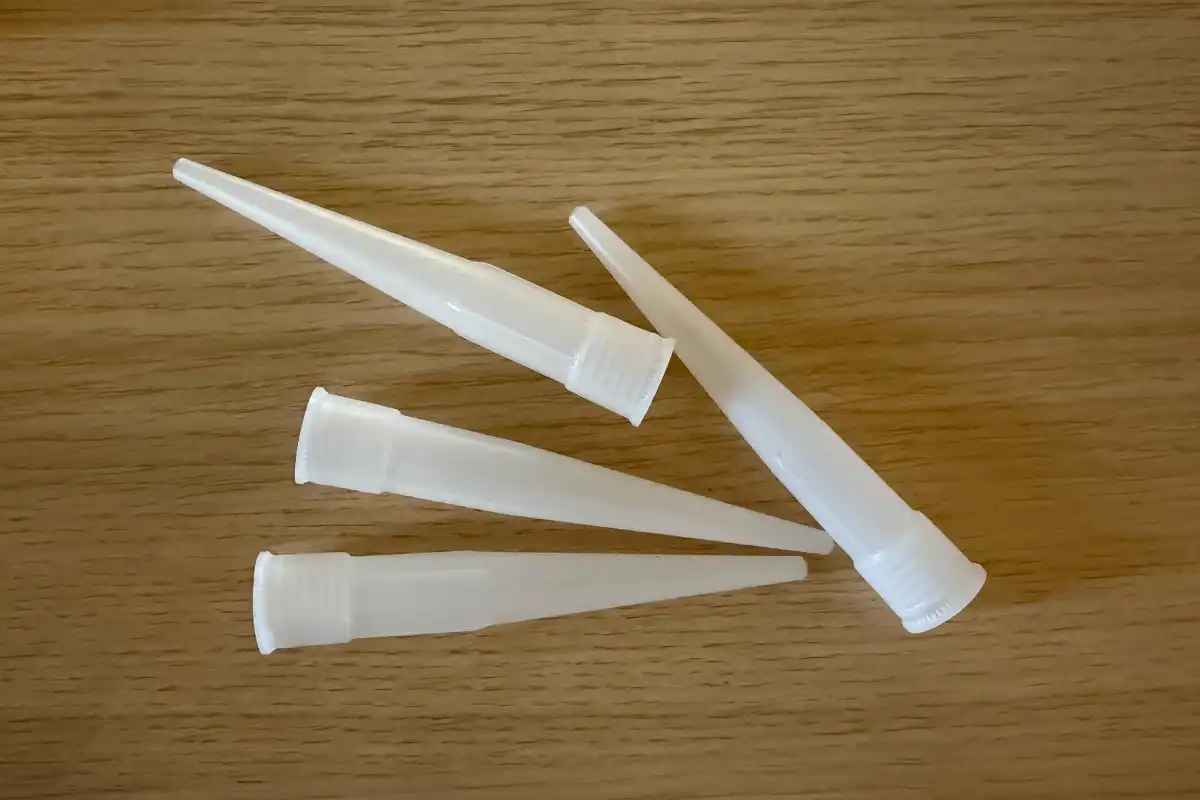
How wide a silicone joint can be
In a bathroom the useful range is usually 5–15 mm; under that there is no body, and beyond about 20 mm it is no longer a cartridge job.
-
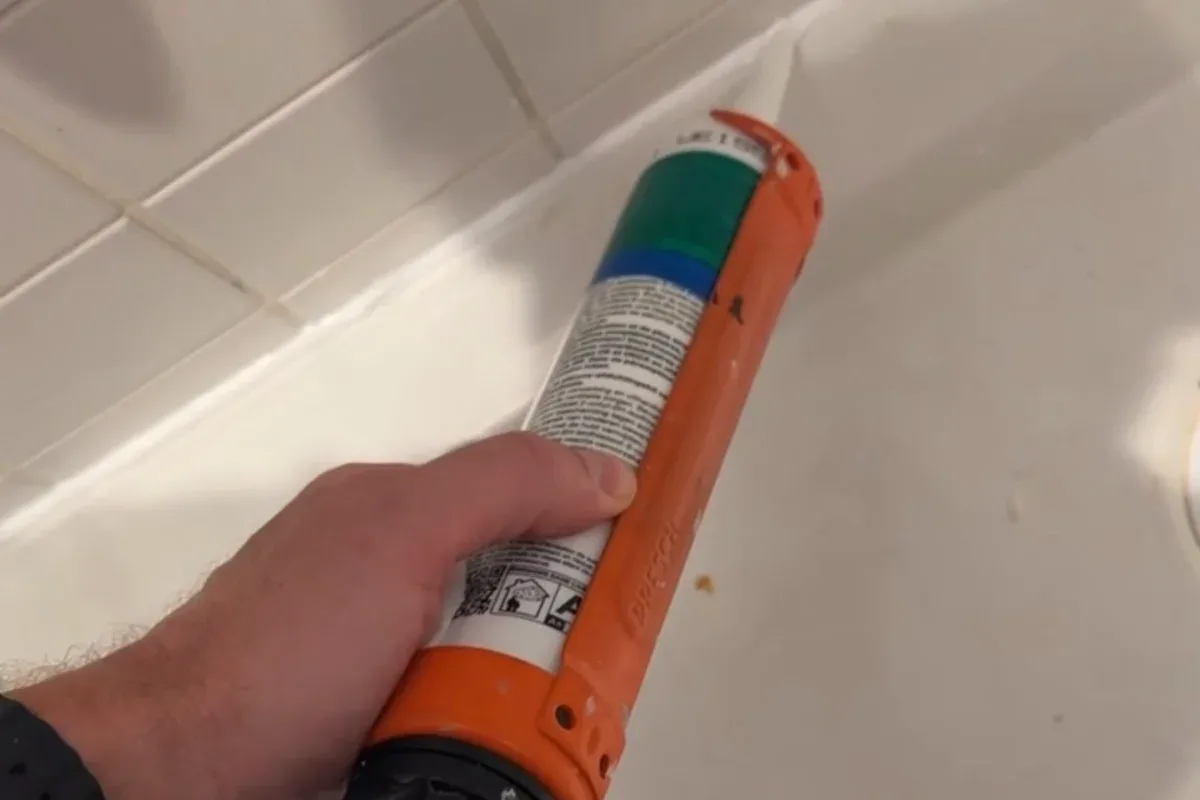
Three-sided adhesion: why a “full” joint tears
If the silicone bonds to both flanks and the back, it cannot stretch; backer rod or bond-breaker tape frees the third face.