
How to choose a sealant colour

Hold a cured sample against both the grout and the tile. Check it in daylight before choosing white, grey or translucent.
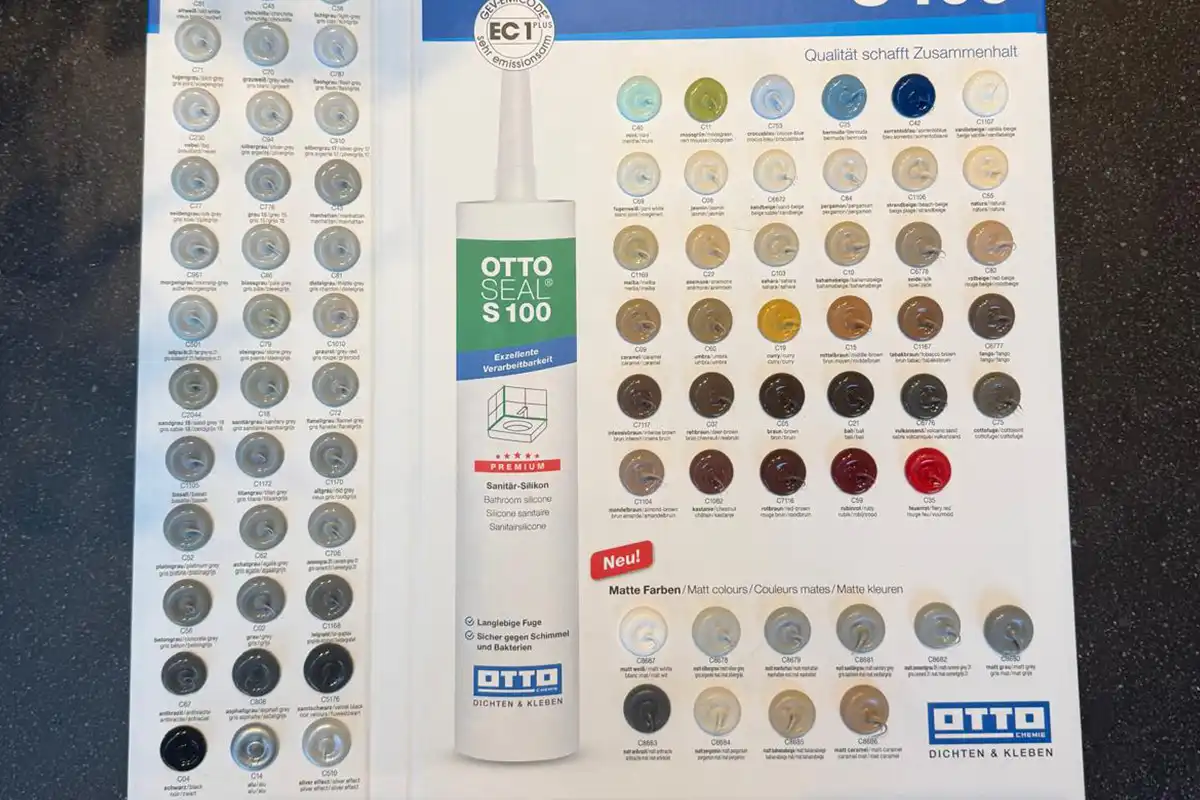
Pick the grout colour, not “the grey of the tile”. On matt surfaces, skip a glossy plastic stripe. Clear silicone is almost never invisible.
Buying through a product link may earn us a commission at no extra cost to you.


Compare the sealant with the tile grout
Italian bathrooms with large-format tile, a walk-in shower and decent taps still get spoiled by a fat, bright-white bead at every meeting. The eye reads that line as a frame. Dark tile, dark grout, white silicone: the joint shouts. The room looks smaller and busier than the tiling deserved.
Colour is not a finishing extra. It is part of the same line-work as the grout. Get it wrong and the craft disappears. Get it right and the joint almost vanishes.
Where the detail calls for sanitary silicone on two compatible surfaces, consider OTTOSEAL S100. Porous stone needs a stone-compatible product.
Match the grout, not the tile
The usual mistake is “grey tiles, therefore grey silicone”. Which grey? Tile faces have texture, glaze and lighting. Grout is the network you already accepted. If the bead matches that network, it joins the grid instead of cutting across it.
I hold a colour card against the grout in the actual bathroom light — daylight and the LEDs you will live with. The same shade that looks calm at noon can go cold under cool-white spots. Names such as Manhattan, sanitary grey, silver grey, concrete grey or anthracite are not interchangeable. A miss of one step on the fan looks cheap from the doorway.
On natural stone I still match grout (or the darkest quiet tone in the stone), and I use a natural-stone silicone, not a random sanitary colour that might stain the edge.
If one edge is marble or natural stone, trial OTTOSEAL S70 on an offcut and check the tooling agent before touching the visible surface.
Gloss on matt is a plastic stripe
Standard sanitary silicone dries shiny. Plenty of current tiles, microcement and stone are matt. A glossy bead throws light back as a wet plastic strip. Matt silicone has a micro-texture that scatters light, so the joint sits closer to a cement grout.
Cleaning is similar if you use mild soap and a soft cloth. You do not need to “scrub extra because it is matt”. You do need to tool a matt bead in one clean pass — polishing it with ten strokes of the spatula can burn a patchy gloss into the surface. That is a tooling job, not a colour job; it still ruins the look.
High-gloss white tiles are the exception: a matt bead can look dusty there. Match sheen to sheen.
For a dry interior joint that will be painted, check the expected movement against the data sheet for OTTOSEAL A205. Try the finish with your actual paint.
Clear is a magnifying glass
“Just use clear — it goes with everything.” It does not. You look through the bead into the gap: cut tile edges, adhesive smears, an unfinished plaster cheek. Clear also tends to go milky or yellow with age and water. I almost never use it on a bathroom joint I want to disappear.
If you need a colour that is not on a cheap DIY rack, a proper sanitary range has a long fan. I pick from that, on site, rather than inventing a custom mix.
Dry-fit the Fugenfux profiling tool. Choose the edge that meets both sides without scooping out the middle, then tool the bead before a skin forms.
Tools and materials for this job
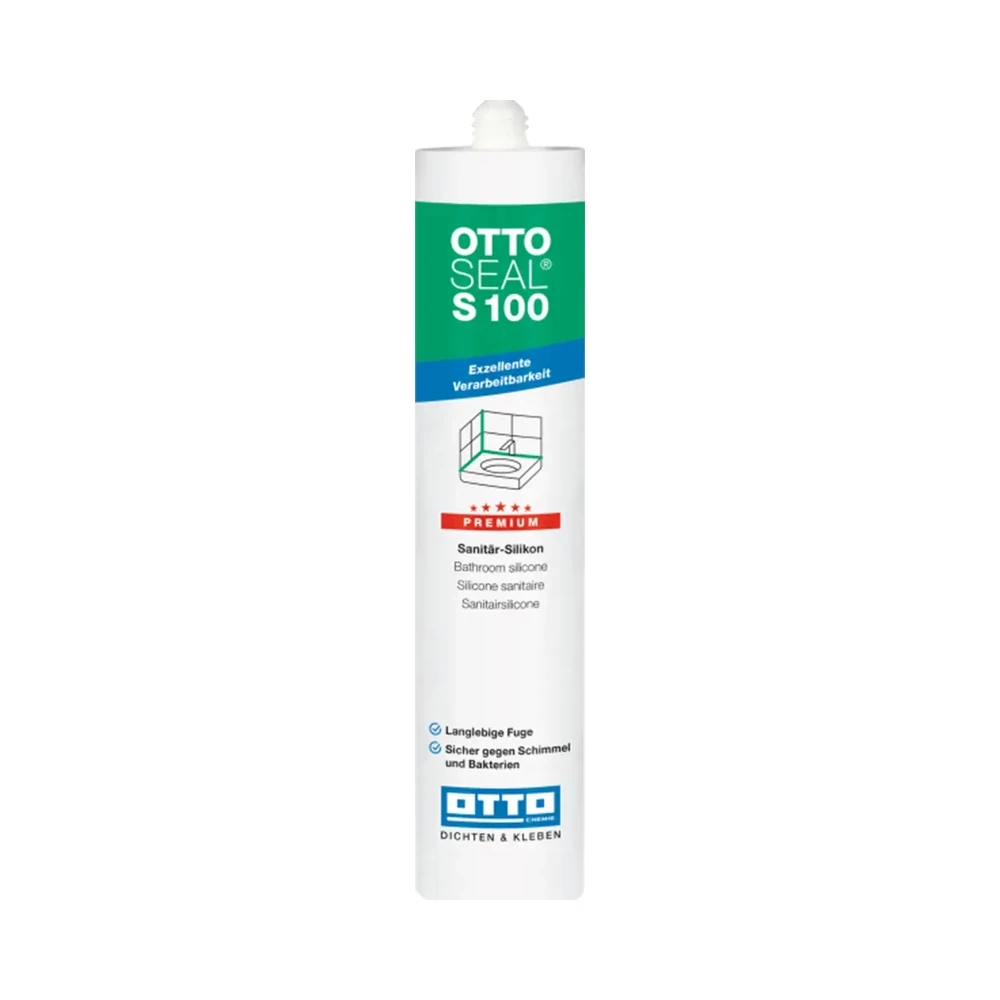
OTTOSEAL S100
Sanitary silicone for compatible surfaces. Check both edges before opening the cartridge.
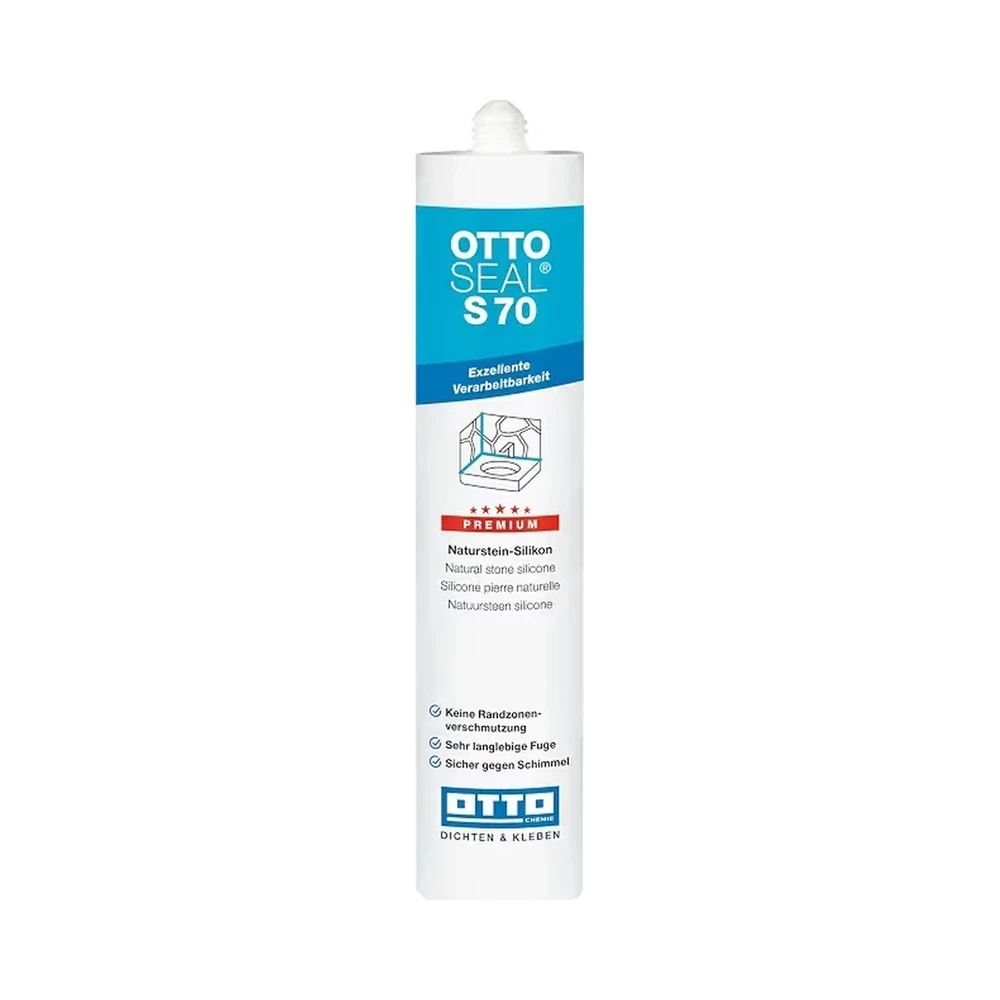
OTTOSEAL S70
For compatible natural stone. Test colour and finish on an offcut.
OTTOSEAL A205
For a dry joint that will be painted. Check movement and paint compatibility.

Fugenfux
Profiling tool. Dry-fit the edge that reaches both sides of the joint.
How I choose on the day
- Identify the grout colour in the room, not from a phone photo.
- Decide gloss or matt from the tile face and fittings, not from habit.
- On stone, use stone chemistry first, then colour.
- Tool so water can run off. A pretty colour in a soap trap still goes mouldy.
White is fine when the grout is white and the tiles are glossy. Everywhere else, white is often the loudest choice in the room.
-
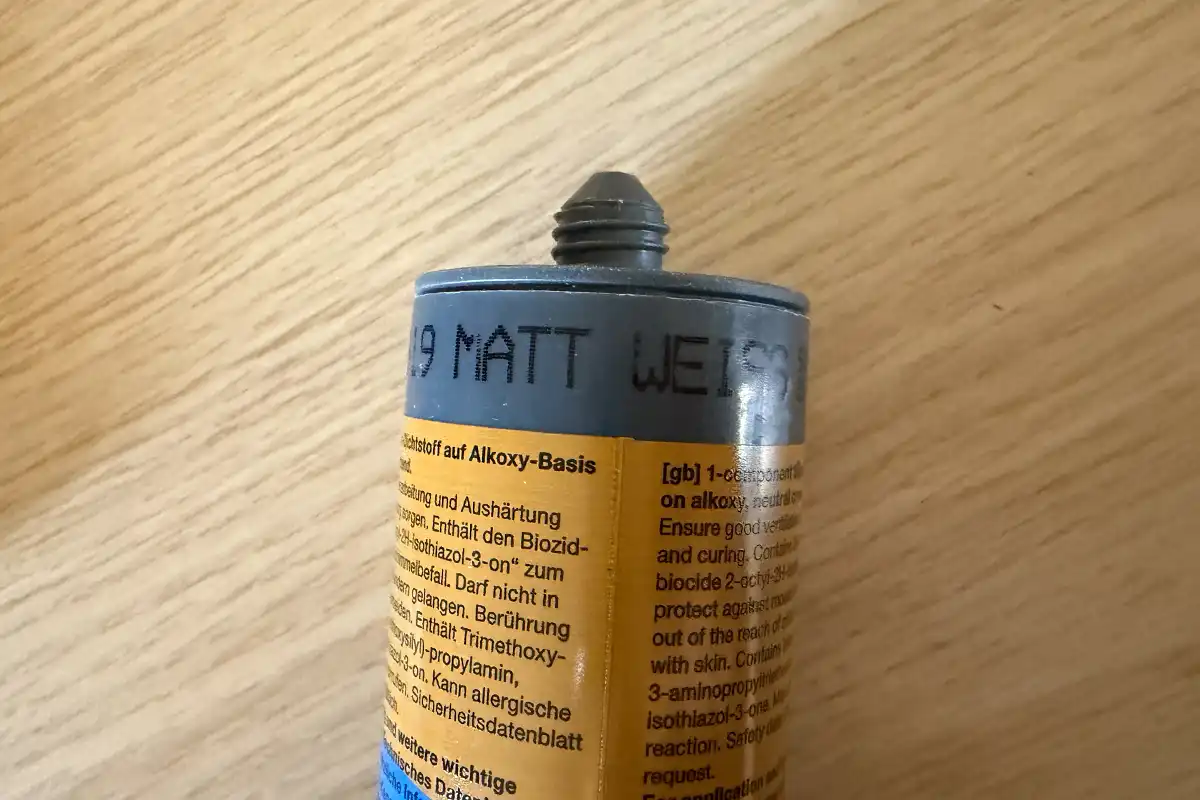
Choosing matt sealant for a concrete finish
Compare a cured sample against the floor in daylight. A glossy bead can stand out more than a slight difference in shade.
-
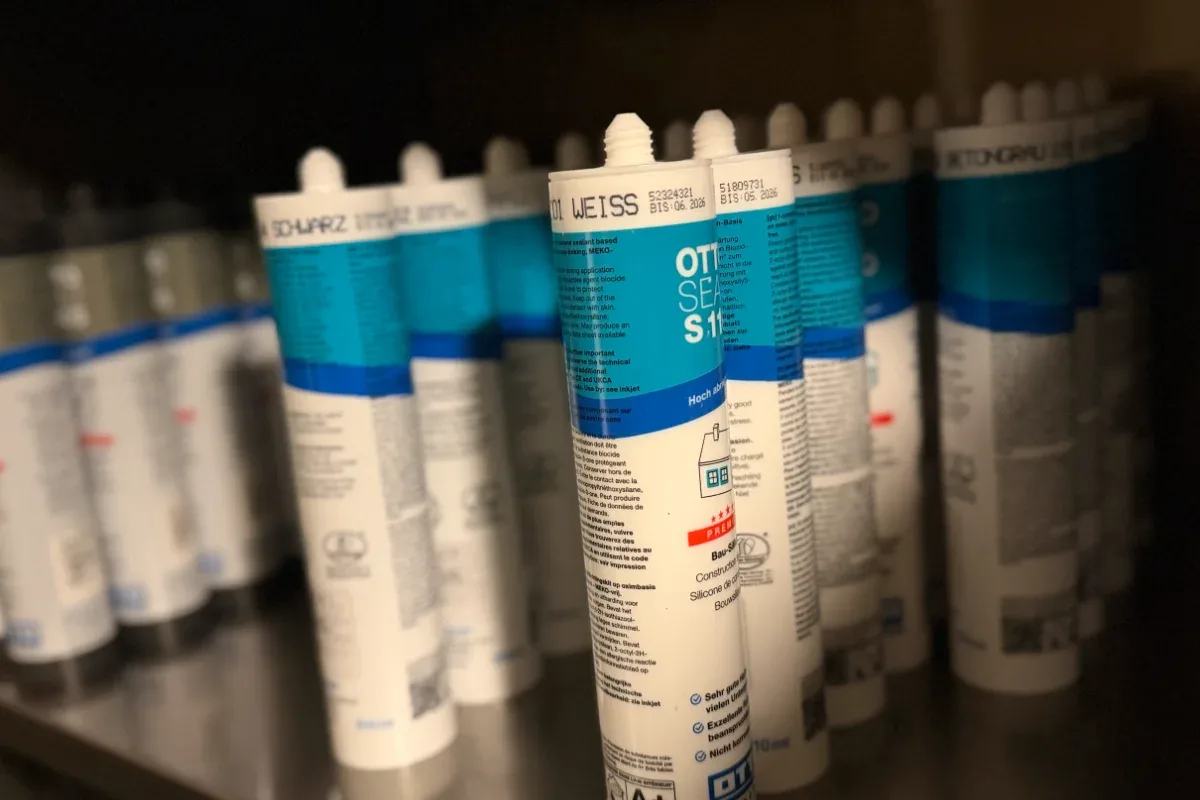
Which sealant should you use in a bathroom?
Start with the surface and water exposure. Tile, natural stone and a trim that needs painting call for different choices.
-
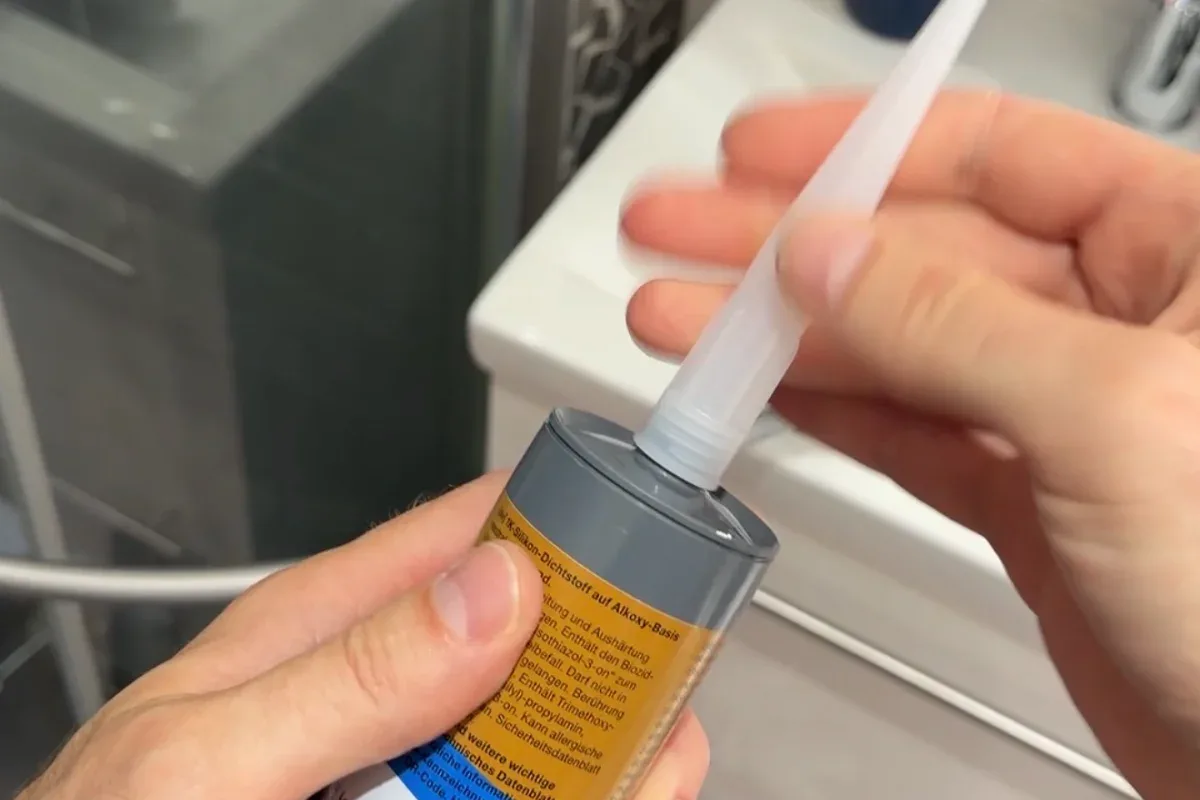
What to check when a shower tray moves
Check the support and movement under load before stripping out sealant. A new bead cannot stabilise the tray.