
Seal first, paint second: ceiling corners
Without paintable acrylic in the internal corner, plaster shows a saw edge and the house movement opens a crack. Seal, wait, then paint.
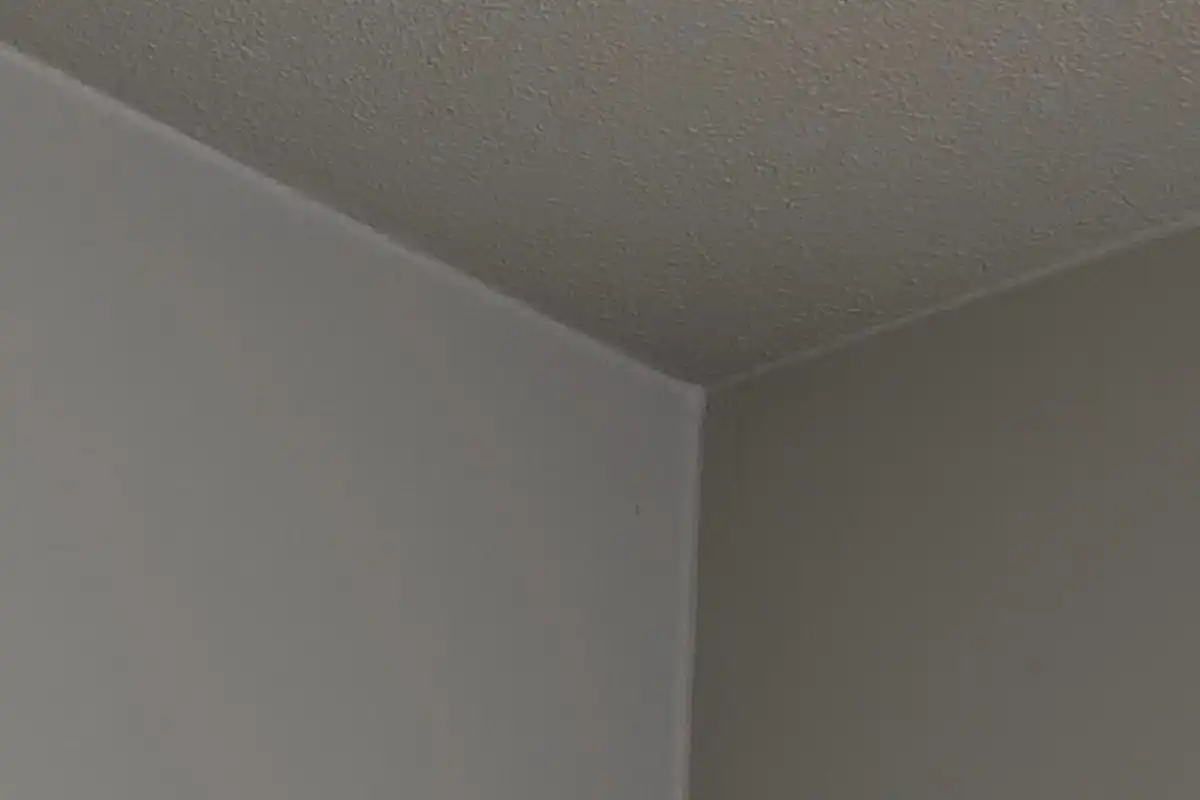
Wall-to-ceiling corner: paintable elastic acrylic after priming and before the finish coat. Paint alone will not close a joint that moves, and sanitary silicone will reject paint.
The plasterer left. Put the roller down.
The walls look like glass and the corners look sharp. The temptation is to open the emulsion and go. The internal corner — wall to ceiling — is where plaster is weakest. Mineral plaster never seals that meeting at a microscopic level. Tiny holes and a ragged edge remain. Paint crawls into them and you get a saw-tooth line, not a magazine edge.
The house also moves. Heat, moisture and seasonal change shift wall against ceiling. Plaster is hard. Hard plaster plus a moving frame means tension cracks. Paint over that meeting with nothing elastic in between and the first cold season often opens a dark, jagged line in expensive decoration.
Why acrylic, and which acrylic
The painter’s trick is a paintable acrylic bead in that hollow before the finish coat. Not sanitary silicone. Silicone has very low surface energy. Paint pulls into islands — fish-eyes. Worse: silicone oil can soak into gypsum. After that, paint may never take on that patch. Silicone belongs in the wet room. Acrylic belongs on the dry, painted junction.
Cheap acrylic is mostly water and filler. When the water leaves, the bead shrinks and the paint film on top craze. I use a high-solids painter’s acrylic (OTTOSEAL A205 is the one in my box). It still moves with the building; it does not pretend to be a structural joint. Typical acrylic movement classes are modest compared with sanitary silicone — enough for this corner, not a promise that every crack in the house will vanish.
On sprayed texture or a grainy plaster I do not use a glassy-smooth acrylic. A structured acrylic (I use OTTOSEAL A215) disappears into the grain after painting. A shiny smooth stripe on stipple is a fingerprint.
Geometry: a slight hollow
I tool a very light concave in the corner. That hollow is a guide rail for the brush: one pull, a straight line, fewer snags. It also leaves a little extra length of elastic material to take movement. A fat convex blob looks amateur and peels paint at the high point.
Order of work
- Dust off. Prime the plaster so the acrylic is not sitting on loose powder.
- Apply acrylic after primer, before the finish emulsion.
- Tool dry, or with a finisher meant to be overpainted. Washing-up liquid is grease. Paint will crawl.
- Wait until a firm skin has formed. Cartridges often say “overpaintable quickly”. A thick bead still holds water. Overnight is safer than “ten minutes and roll”. Painting too soon still craze.
- Then the finish coat, covering the bead so the colour is one.
Skirtings, door linings and other dry internal meetings get the same logic. The shower corner does not.
Exceptions
If the crack is structural — a settlement split you can put a fingernail in — acrylic will not stitch the house together. Fix the cause, then decorate.
If silicone already contaminated the gypsum, cutting and cleaning is the start, not another coat of emulsion. Do not mix the two chemistries on the same corner and hope.
What I use on this joint
-
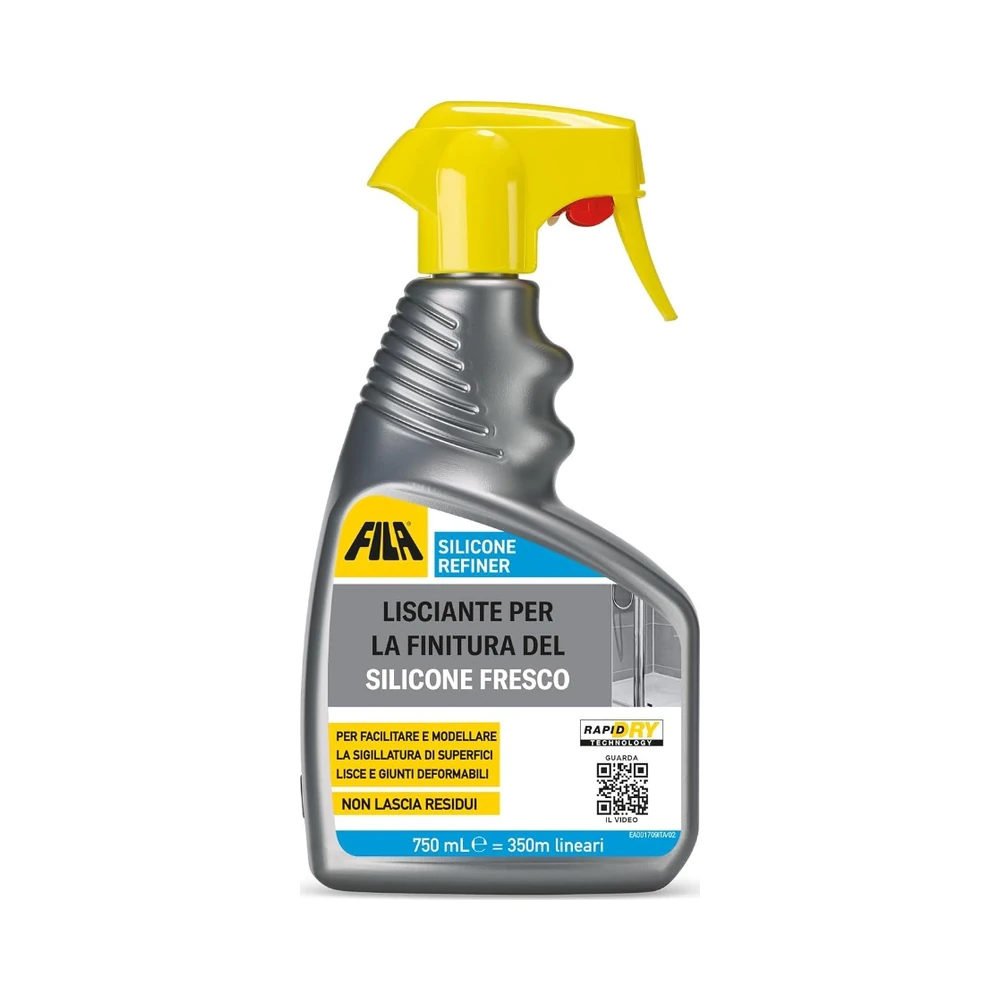
Smoothing agent
Spray/liquid for tooling the joint surface without dragging dirt.
Smoothing agent Purchase link not available
-
Paint cracking on the ceiling joint: it is not (only) the paint
Craquelure on the ceiling line usually means the acrylic is still shrinking after the paint film has gone hard — or the bead was tooled with soap.
-
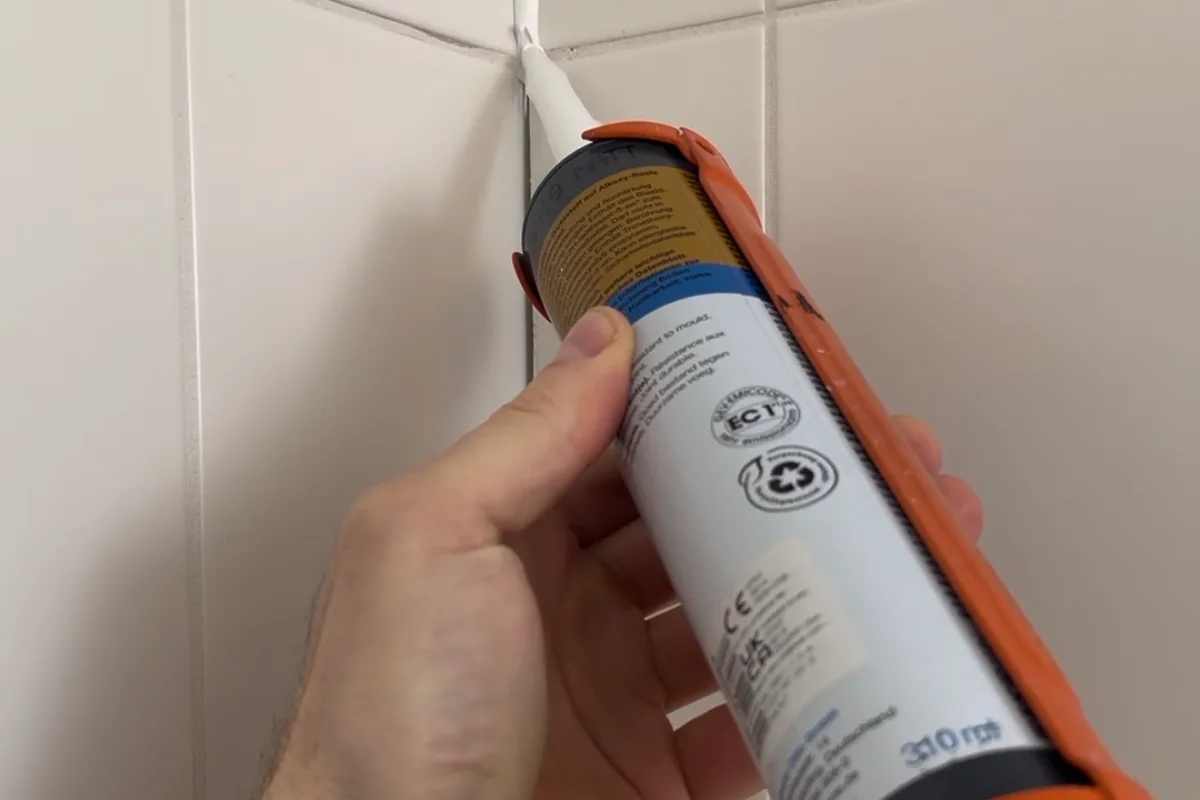
Can you paint the joint? Silicone no; acrylic yes
Paint pulls off silicone; in the shower you buy the cartridge colour, not a brush.
-
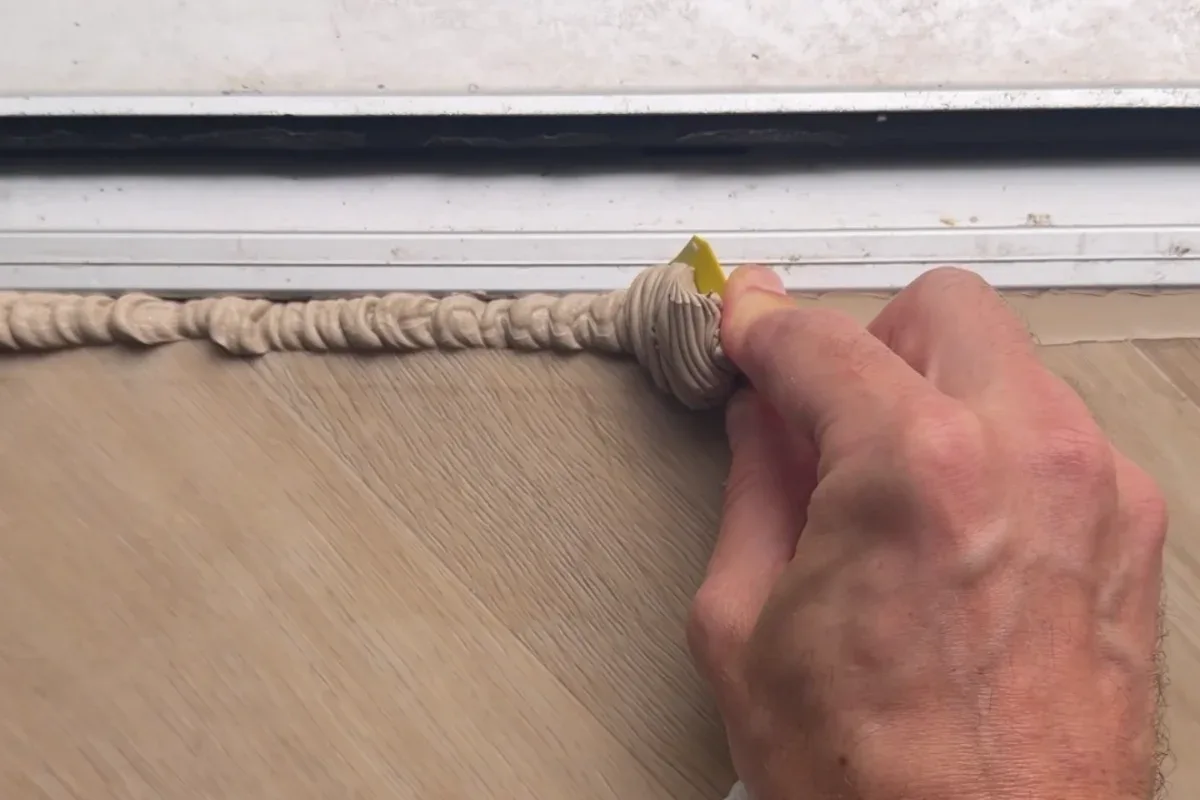
How deep the joint should be: more silicone is not stronger
Up to about 10 mm wide, depth close to width (minimum about 5 mm). Wider: limit depth with PE backer rod.