
The joint peeling off the tray or bath
On acrylic and composite, peel is usually adhesion plus movement. Tray support and an elastic joint are two different jobs.
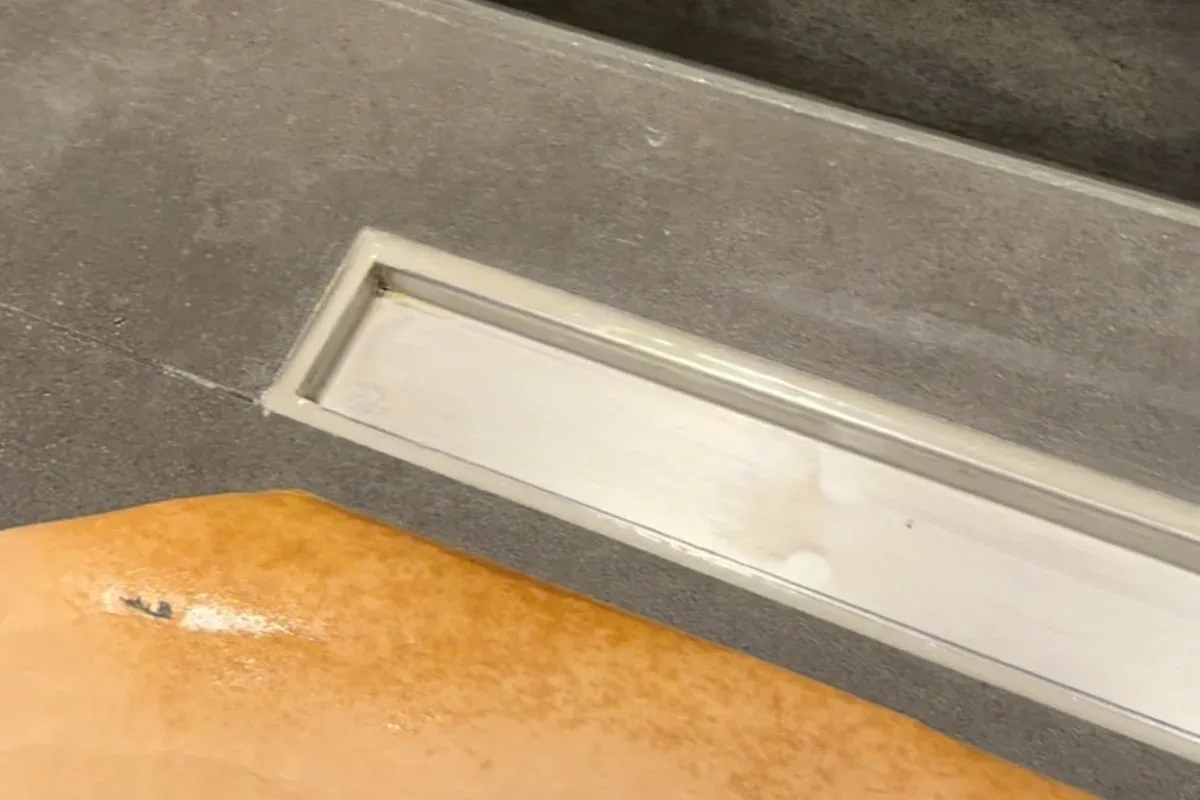
If the bead peels off the plastic in one piece, it never bonded. Clean properly, prime if the plastic needs it, and seal under load when the bath or tray sags when filled. If the tray rocks when you stand in it, fix the support first; silicone will not hold it still.
The failure in front of you
Sanitary silicone is an elastic seal. It follows small movement between tray and tile. It is not a structural adhesive, not packing for a hollow support, and not a way to lock a rocking tray in place.
Peel usually tells one of two stories. If the bead comes off whole, smooth on the back, it never bonded to the acrylic or composite. If it tears through the middle, it did bond, but the movement beat cohesion. A fatter cartridge does not merge those two jobs.
Flex under load versus a tray that moves
Acrylic and composite expand with hot water and drop a few millimetres under weight. That is expected movement. The joint has to work like a rubber band: two faces, enough body, and often ballast while it cures.
A tray that springs, creaks or sags when you step in is a support problem — feet, frame, board, or whatever that tray’s maker specifies. There is no universal mortar-or-foam recipe. Silicone will not do that work. A thicker bead is still elastic: it tears or lets go the same way.
Why plastic lets go
Acrylic and composite have low surface energy. Sealant sits on the face if the rim is greasy or filmed. White spirit, glass cleaner and some sprays leave an invisible film. Classic pattern: it holds the tile and, after a few showers, opens on the tray edge.
Technical clean, dry, and a plastic primer when that substrate needs it. Without that, an expensive cartridge still will not grab.
How to reseal (once the tray is stable)
- Cut out every scrap of old silicone. A leftover film blocks the new bond.
- Degrease with a technical cleaner that leaves no residue. Let it dry.
- Prime the plastic if that rim needs it.
- If the joint is deep, set closed-cell PE backer rod so the sealant bonds on two faces, not three.
- Give the joint body — not a smear. In practice, about 5–6 mm width and depth have enough mass to stretch; a thin film does not.
- On a bath or tray that sags when filled: water ballast after a dry clean, and leave it until cure. The fill-the-bath guide has the detail. The idea here is simple: you seal in the loaded position, not the empty one.
I use OTTOSEAL S100 here. I skip stiff hybrids on this meeting: they are often too rigid for acrylic movement.
Mistakes you see every week
Sealing an empty bath and filling it the next day tears the joint. A bead stuck to the back as well (three-sided adhesion) cannot stretch and splits down the middle. Sticking loose flaps back never works: silicone does not weld to old silicone.
Do not shoot new sealant over a joint that is only dirty. Clean the surface; replace when it has peeled or torn.
Exceptions
A rocking tray is a support job, then a joint. A firm tray with tired silicone is only a replacement. If water is already behind the tiling, closing the visible line will not dry that cavity.
Do not invent a universal “always mortar” or “always feet” method. Follow the tray manufacturer and, once the support is quiet, seal it properly.
What I use on this joint
-
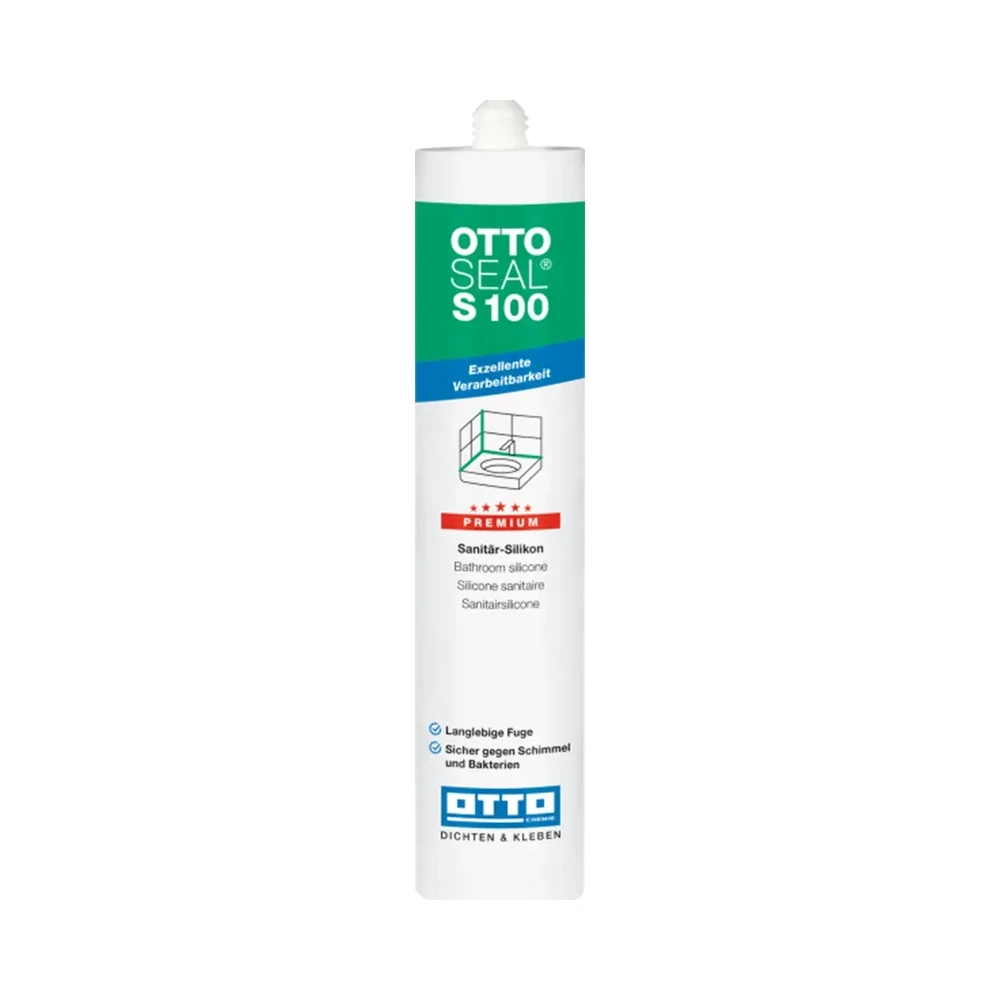
OTTOSEAL S100
The sanitary silicone I use on showers and baths. Elastic — not a staining-risk stone silicone.
OTTOSEAL S100 Purchase link not available -
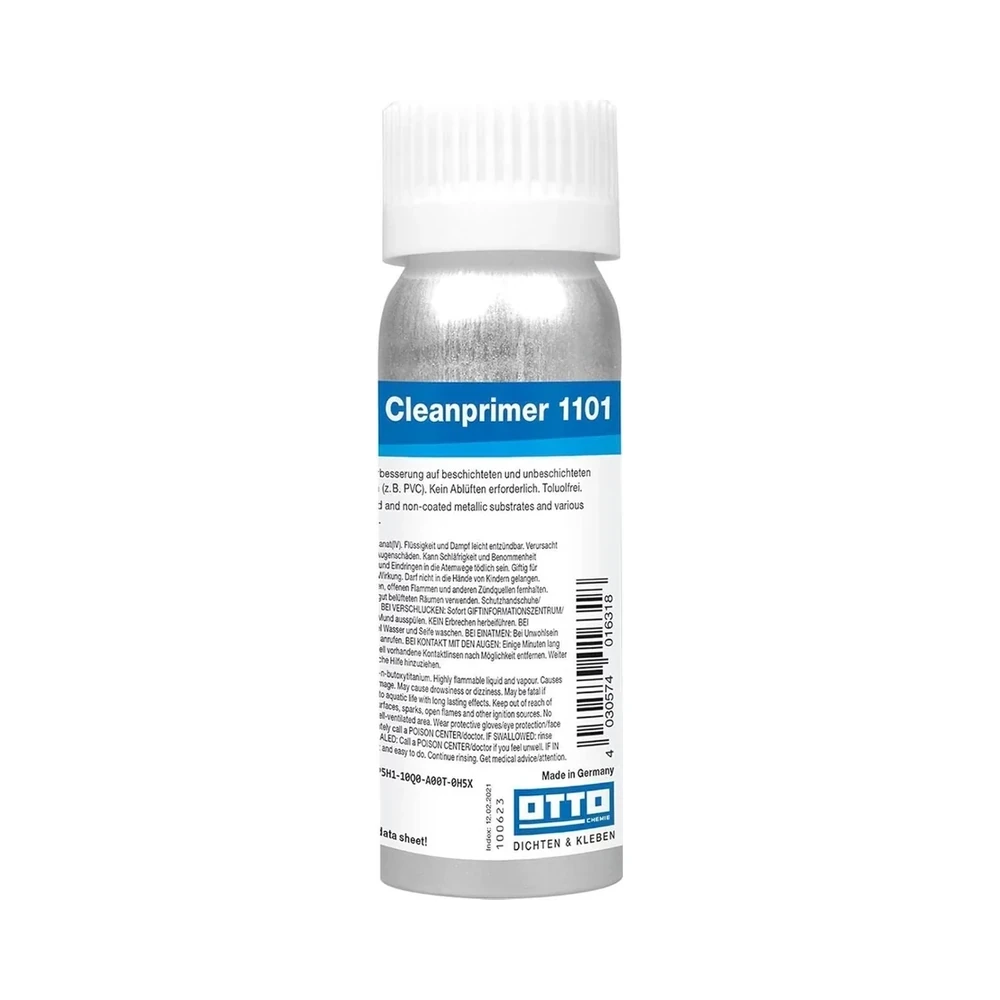
OTTO Cleaner / Cleanprimer
The technical cleaner I use to prep the substrate before sealing.
OTTO Cleaner / Cleanprimer Purchase link not available
-
Do you fill the bath before sealing?
Acrylic and thin steel often sag under weight. Filling is not a universal rule: watch how that bath moves and what its maker asks.
-
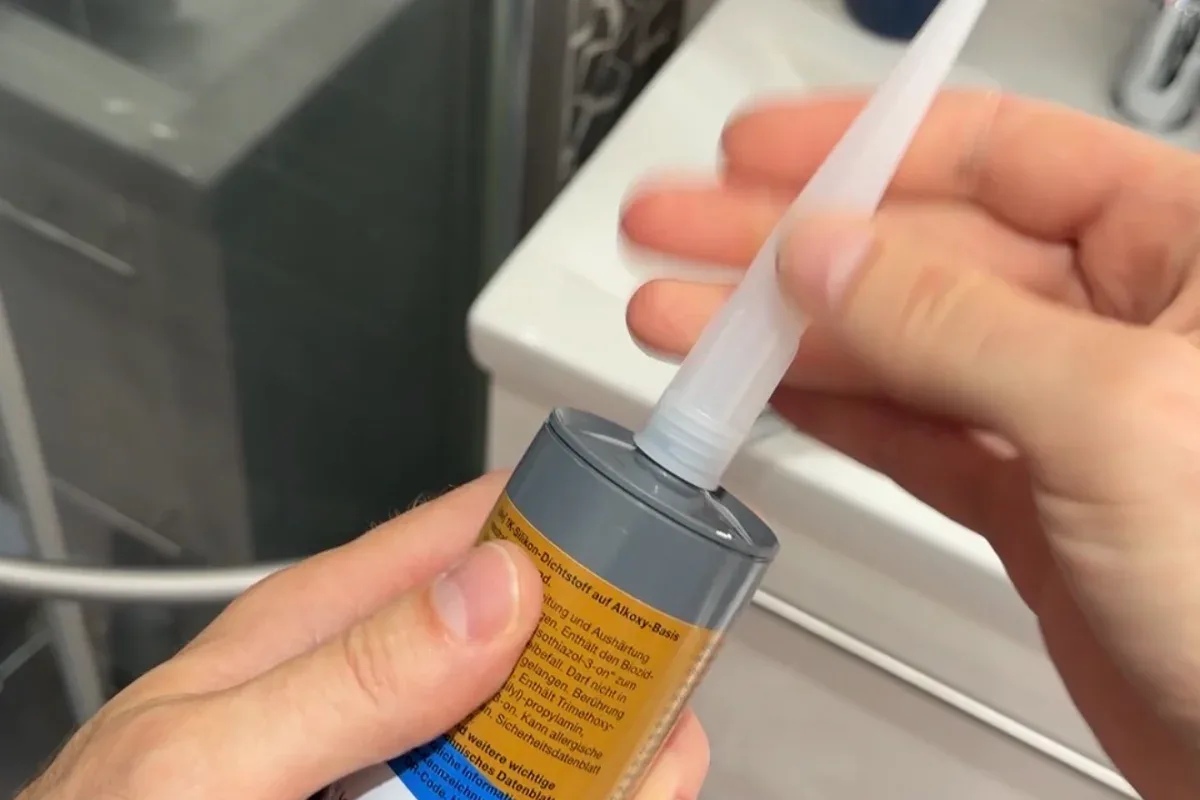
A shower tray that moves: sealant will not hold it still
An elastic joint is a seal, not a support. Stabilise the tray as its manufacturer specifies, then reseal.
-

Why silicone peels: adhesion, primers and a clean substrate
If the bead peels leaving the tile clean, it never bonded. Greasy household cleaners, damp faces and skipped primer are the usual reasons.