
Sealing the worktop: four places it fails first
Sink, upstand, hob and edge go first: the enemy is invisible grease, not the cartridge colour.
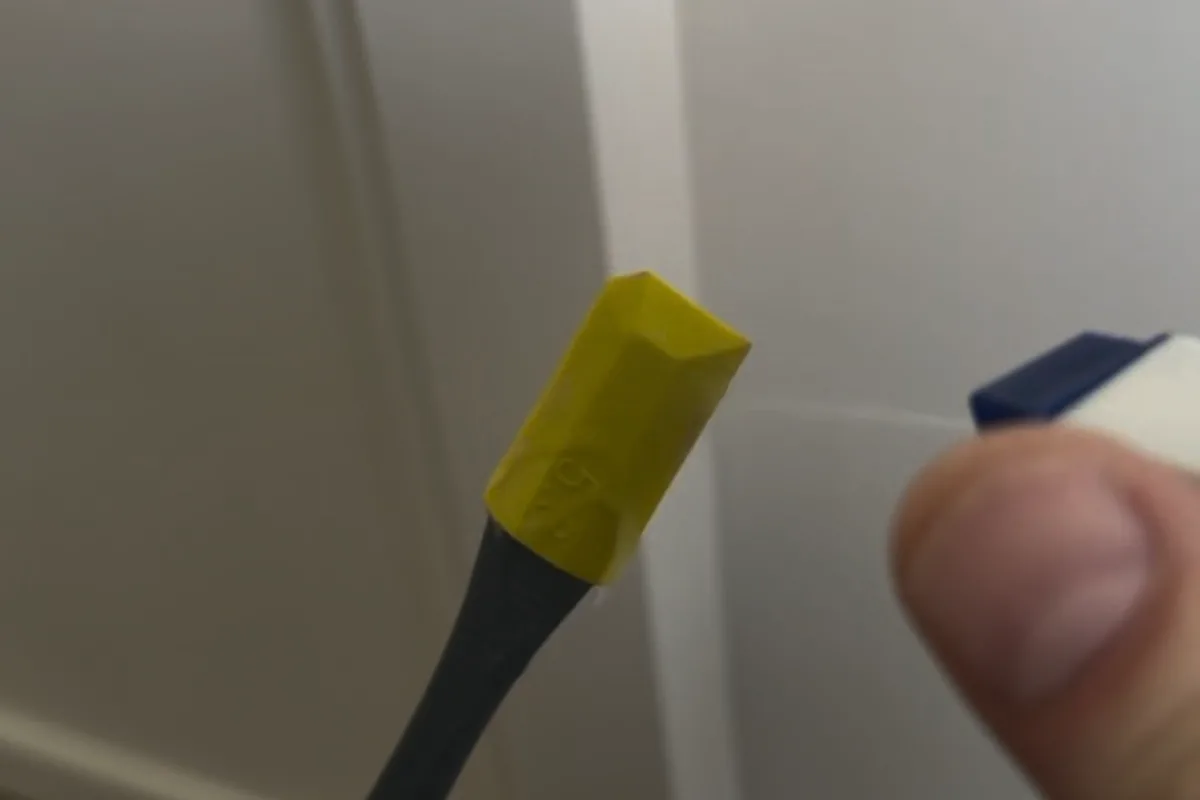
Degrease properly with a technical cleaner: a film of cooking fat kills adhesion. On stone, stone silicone; at the sink, a sanitary bead that will take water and soap. The hob asks for heat; a universal cartridge will not do.
Grease you cannot see
A worktop joint lives or dies on the substrate, not the colour. A film of frying fat, even if you cannot see it, blocks adhesion. The bead lets go after a few months, the sink drips into the cupboard and the carcass rots with nothing dramatic on the face.
Household all-purpose cleaner often leaves another film. I use a technical cleaner, something like OTTO Cleaner T, and let it dry. It is not theatre: it is the difference between a bond and a pretence.
A long top can move millimetres with a hot pan or sun on the edge. A skinny fillet tears through the middle (cohesion). Geometry — width against depth — matters as much as the chemistry. If the hob rocks, the bead fails anyway: clamp it first.
The four zones
Around the sink: more water, more soap. Soap attacks the fungicide. Here I want decent sanitary silicone, not a leftover from the tiling.
Against the upstand or wall: different materials often meet (timber, glass, stone). More movement, more chance of a split.
Beside the hob: heat and aggressive fat. The bead fades, goes brittle or lets go first.
The end cap / edge: knocks, chairs, the supermarket of corners. Mechanical load; the flank peels.
Chemistry by the top
Natural stone or composite: OTTOSEAL S70 (or another stone silicone). Acetoxy sanitary grade stains the edge with a plasticiser halo.
Laminate, compact, general meetings: OTTOSEAL S110 often suits me, neutral, without eating the aluminium of a trim.
The hob: pick a product that will take the heat load of that install, not the cheapest tube on the shelf.
How I do it
- Strip old residue fully if you are replacing.
- Degrease for real and let it dry.
- On a rough face (textured plaster, coarse stone), tape can keep a clean line.
- Gun the bead under pressure, into the back of the meeting.
- Tool with a neutral finisher. A finger in lemon washing-up liquid eats the mould protection; six months later, black dots.
What the cartridge will not fix
A hob that is not clamped. A sink already leaking at the waste, not at the joint. Closing that with more silicone is theatre: the water still finds the cupboard.
What I use on this joint
-
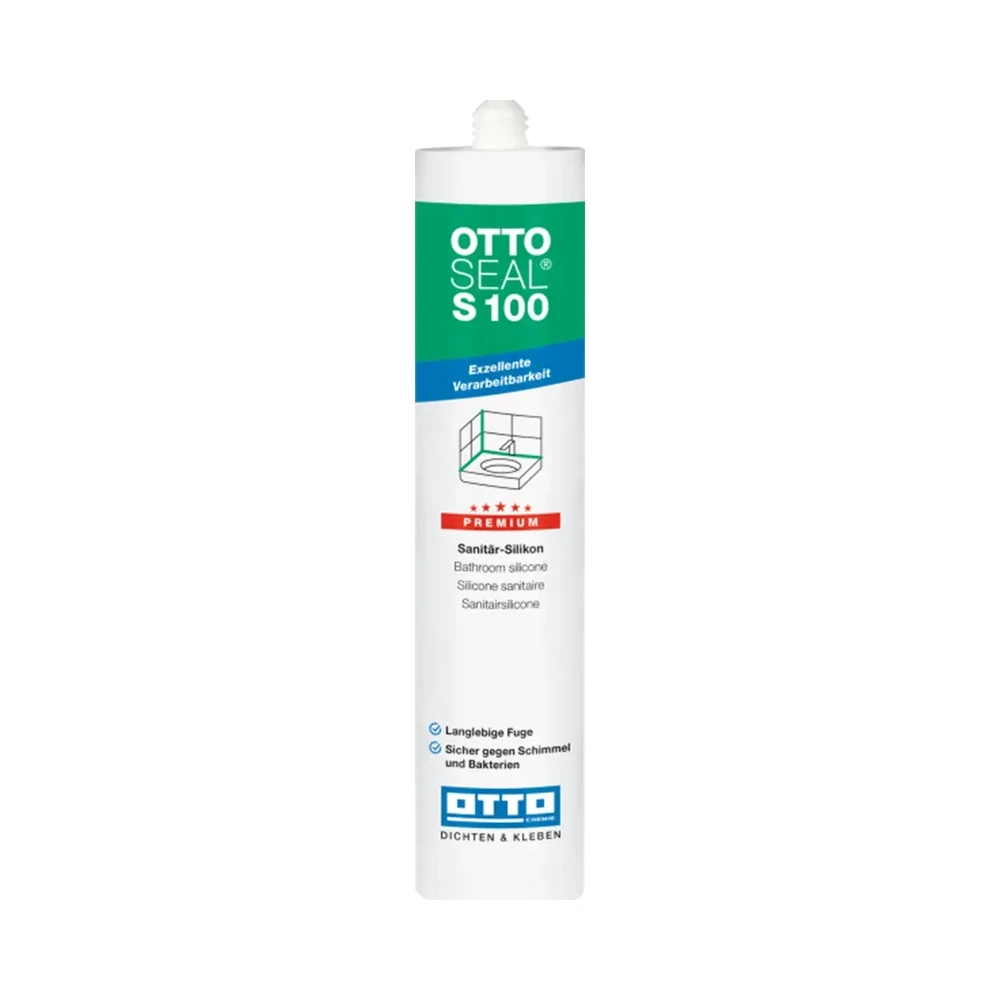
OTTOSEAL S100
The sanitary silicone I use on showers and baths. Elastic — not a staining-risk stone silicone.
OTTOSEAL S100 Purchase link not available -
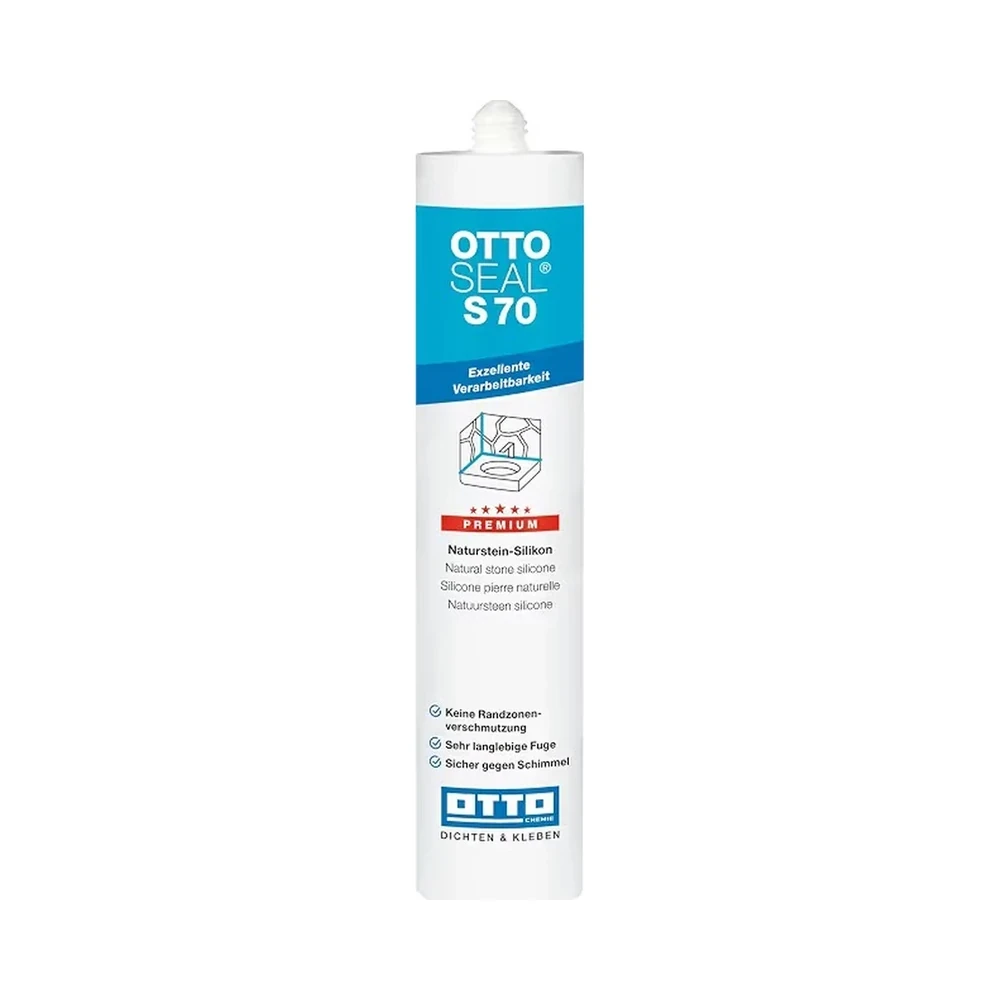
OTTOSEAL S70
For marble and natural stone — so the edge stays clean.
OTTOSEAL S70 Purchase link not available -
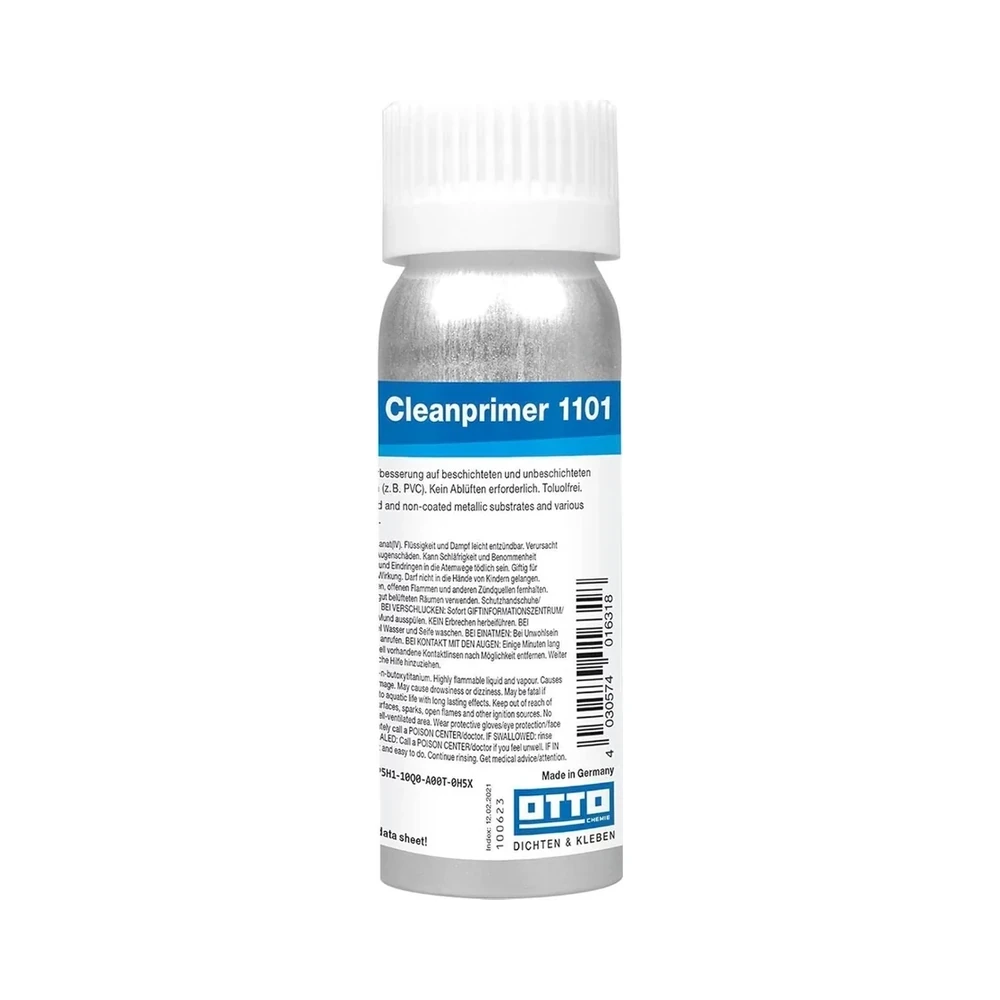
OTTO Cleaner / Cleanprimer
The technical cleaner I use to prep the substrate before sealing.
OTTO Cleaner / Cleanprimer Purchase link not available
-
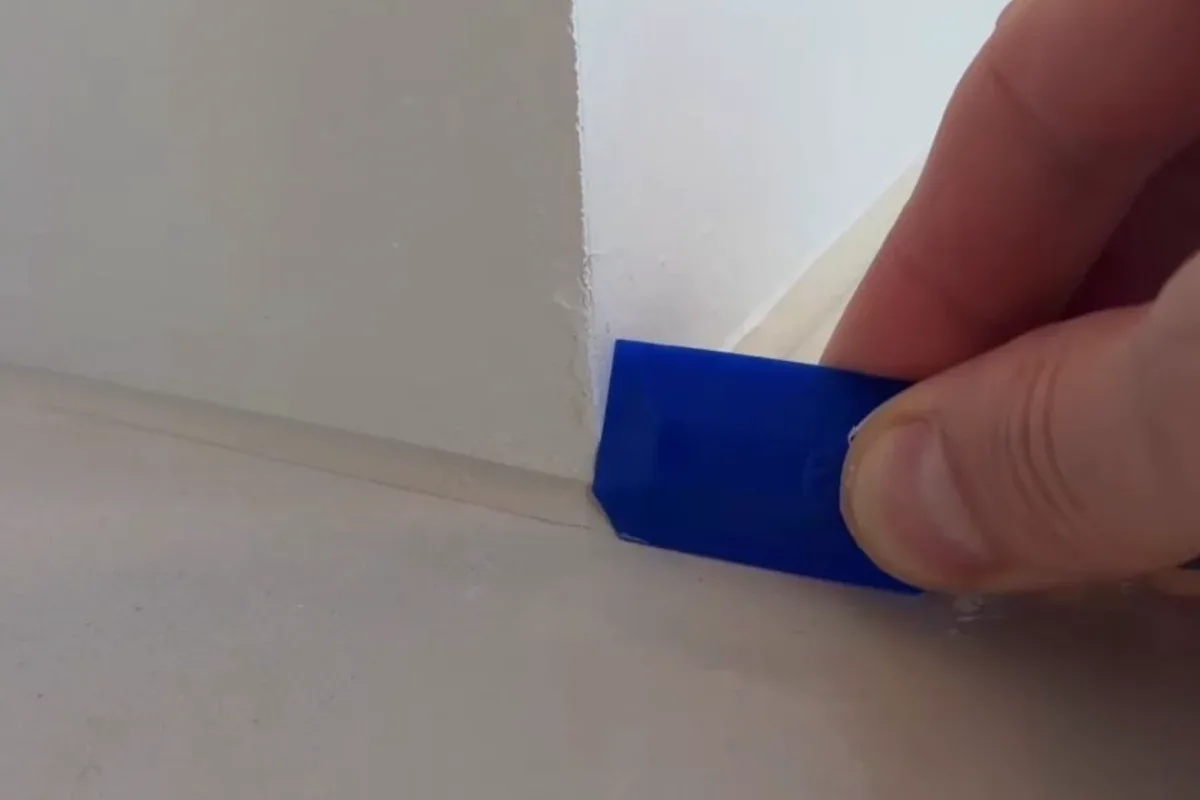
Kitchen sink: on top, under the worktop, or both?
The visible bead is not enough. On an undermount, the joint underneath is what saves the worktop edge.
-

Why silicone peels: adhesion, primers and a clean substrate
If the bead peels leaving the tile clean, it never bonded. Greasy household cleaners, damp faces and skipped primer are the usual reasons.
-
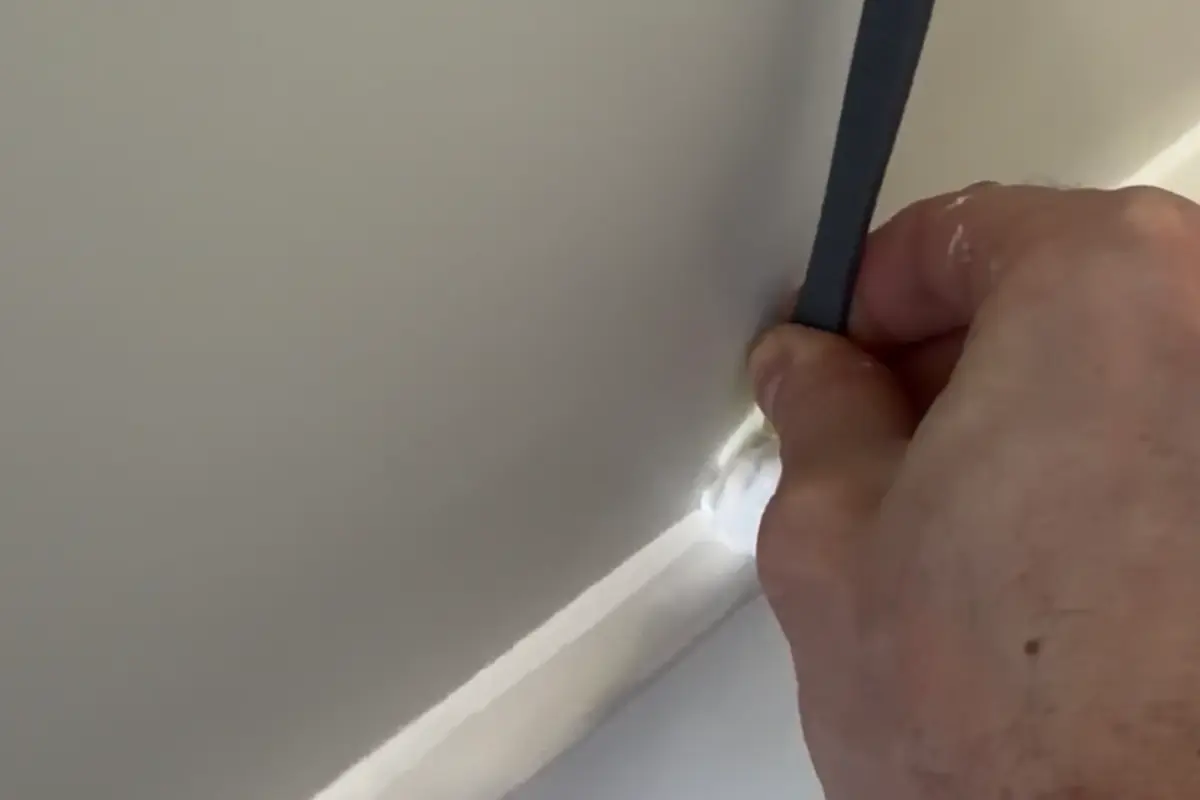
Sealing marble or natural stone: stop the greasy halo
Ordinary sanitary silicone can feed oil into porous stone. Neutral cure is not the same as a natural-stone grade.