
Can I put new silicone over the old layer?
Cured silicone will not take a chemical bond. You get a cold joint and water creeps between the layers.
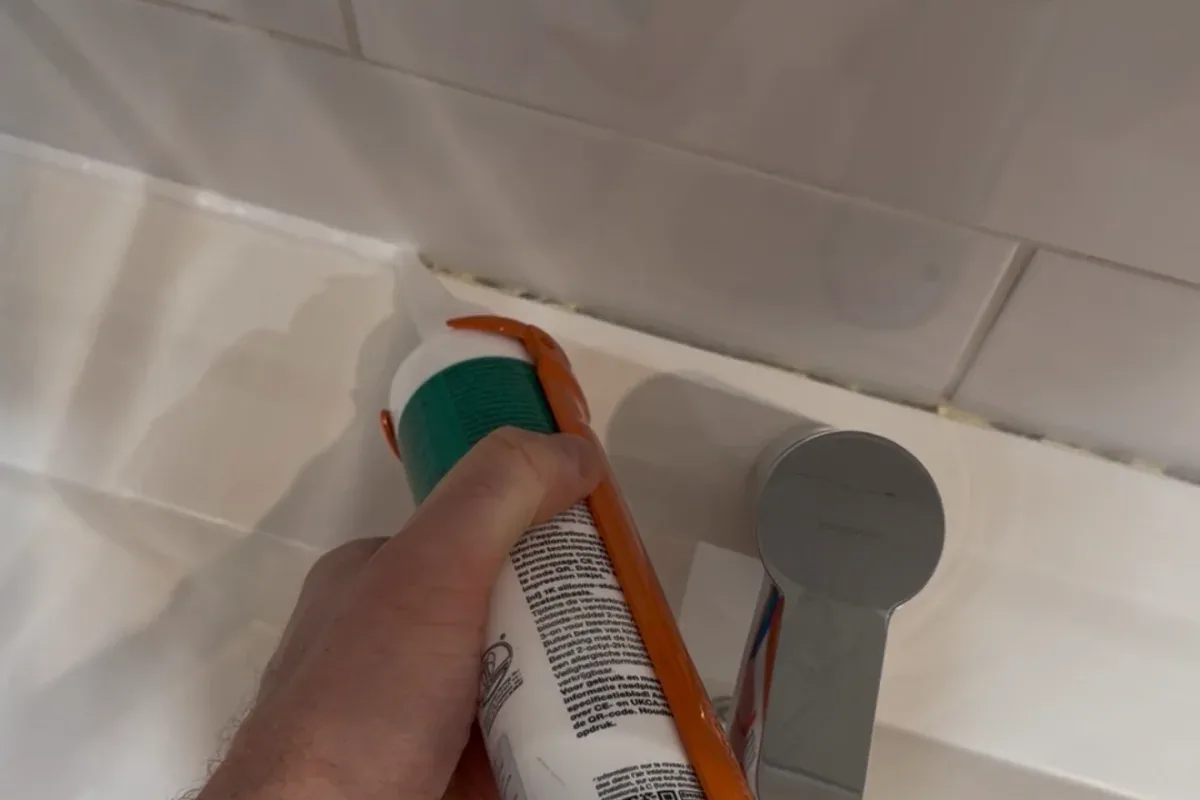
Never shoot new silicone onto old silicone. Cut the mass out, remove the invisible film and clean dry. Over the top you only get a cold weld that lets water and mould in.
Why it will not stick
Cured silicone has extremely low surface energy. Fresh silicone does not really bond to it. What you get is a cold joint: two layers with no chemical weld. Water climbs between them by capillary action. Mould grows where you cannot see it, behind the “new” bead.
A tube that claims it can go over old silicone is a bodge. In proper joint work it does not count as a seal.
When yes and when no
No if the bead is stained, torn, peeled or has mould in the mass. All of it out.
No if you see a pin-hole in a relatively new joint. Do not cap the hole. Cut a generous length and rebuild that segment on a clean substrate.
Yes try a deep clean if the joint is intact and only dirty. Replace when mould is in the mass or the flank opens.
The film you cannot see
Scraping the bead with a knife is half the job. A thin film of old silicone stays on the tile and the sanitaryware. Three months later the new bead peels like rubber: adhesion failure.
After the coarse cut: a silicone remover, dwell time, scrape without scoring the acrylic, degrease with a technical cleaner (not oily white spirit) and dry fully. One grain of old silicone is a bump and a weak spot.
On a face that was soaked in silicone, I sometimes open the meeting by a millimetre so the new bead hits a clean edge. A real 4–6 mm bond face takes movement; a smear over film does not.
How to renovate properly
- Cut the old mass without wrecking the tray or the glaze.
- Break the film with a silicone remover, not vinegar: vinegar does nothing to cured silicone.
- Clear the residue, degrease, dry. If moisture weeps from the joint, wait. Sealant on wet is a leak waiting.
- New backer rod if the old one was dirty or crushed.
- Sanitary silicone with body — OTTOSEAL S100 here — tooled so water can run off.
Expensive mistakes
Leaving “a bit” in the corners. Capping a hole. Sealing over moisture from an opened joint. Thinking you save time: between two layers mould grows faster than on an old bead you can see.
Exceptions
No professional system promises a lasting seal on old silicone. A segment replacement is a segment replacement, not a patch on top. Wait for cure (often 24–48 hours on a typical shower joint, longer if it is deep) before you load it with water.
What I use on this joint
-
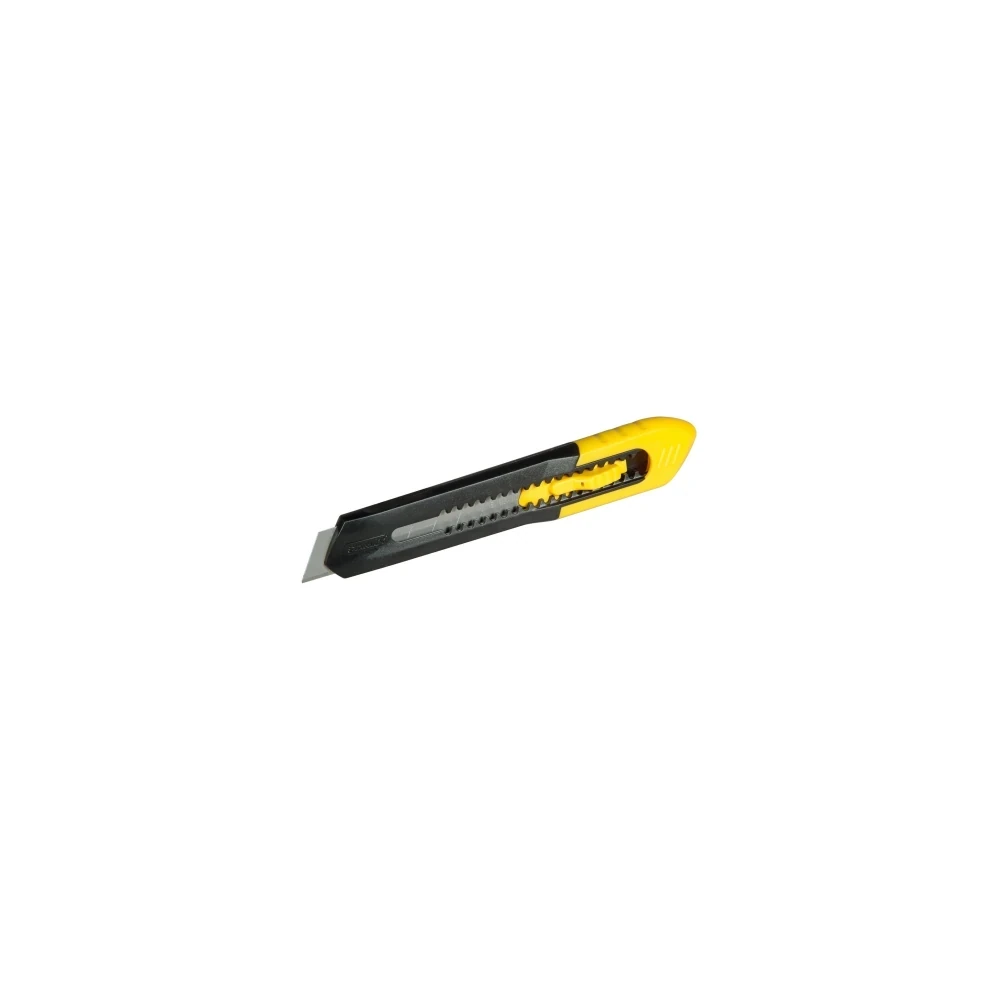
Stanley cutter
Cutter for cutting and lifting old silicone with control.
-
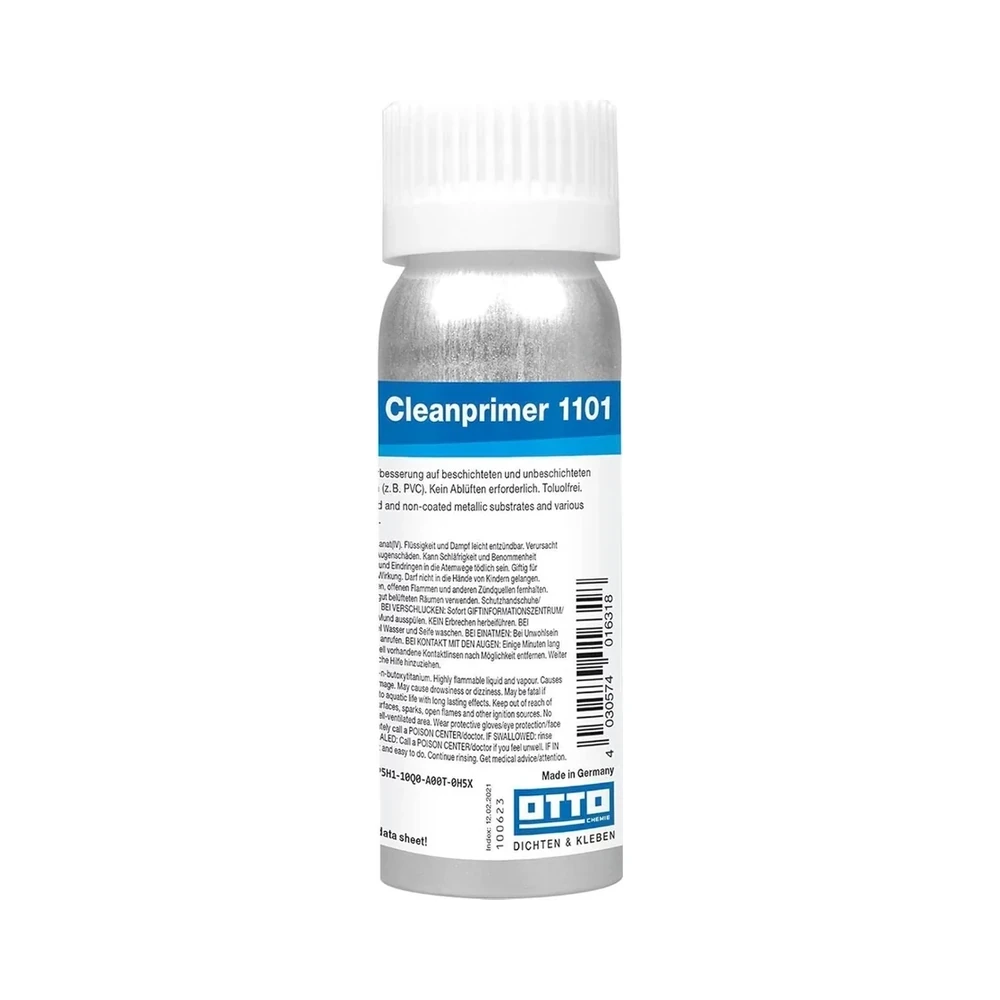
OTTO Cleaner / Cleanprimer
The technical cleaner I use to prep the substrate before sealing.
OTTO Cleaner / Cleanprimer Purchase link not available -
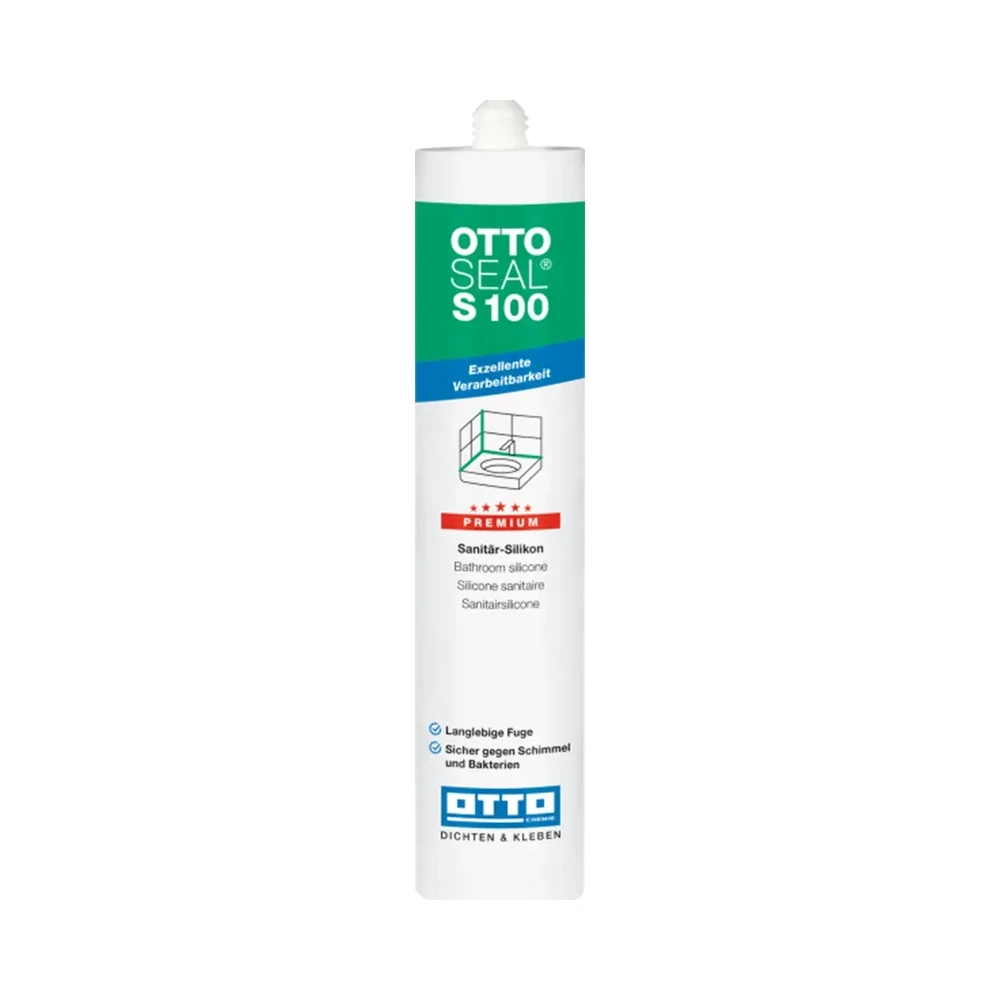
OTTOSEAL S100
The sanitary silicone I use on showers and baths. Elastic — not a staining-risk stone silicone.
OTTOSEAL S100 Purchase link not available
-
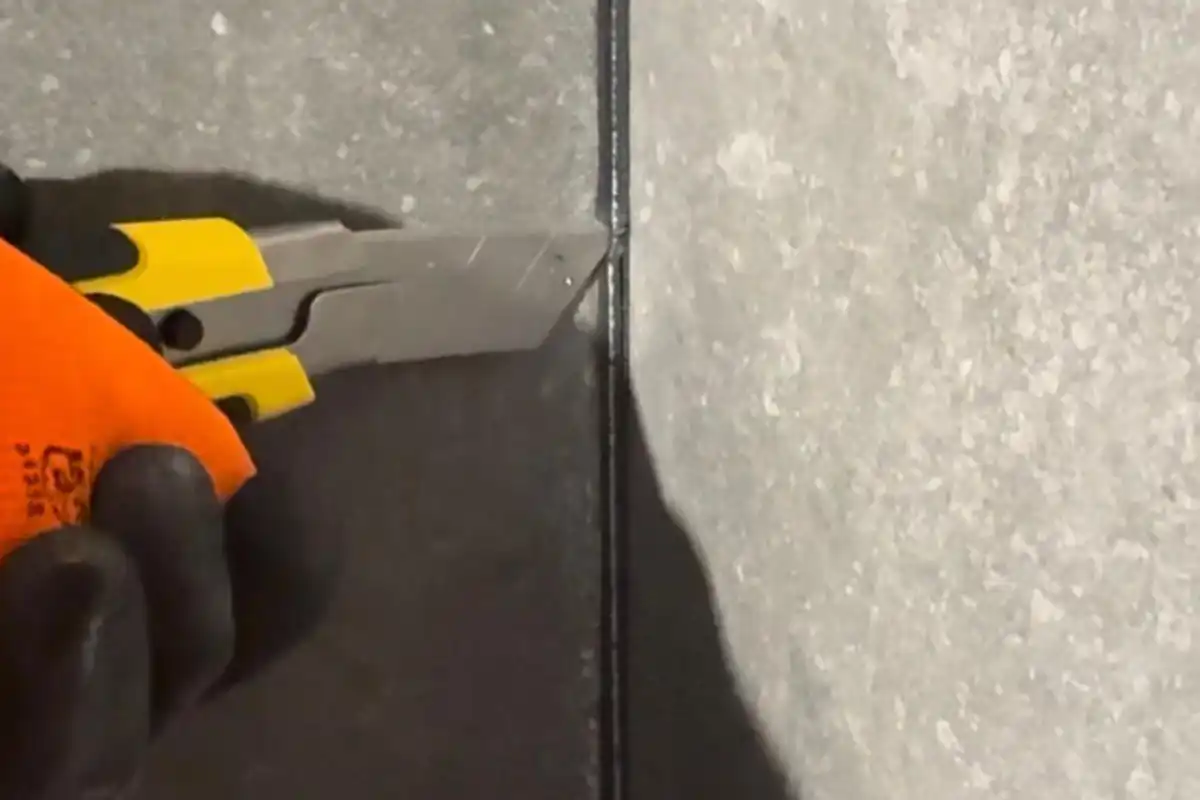
Removing old silicone: why “looks clean” is not enough
New silicone will not bond to an invisible oil film. Cut the mass, break the residue, then degrease — without scratching acrylic.
-

Why silicone peels: adhesion, primers and a clean substrate
If the bead peels leaving the tile clean, it never bonded. Greasy household cleaners, damp faces and skipped primer are the usual reasons.
-
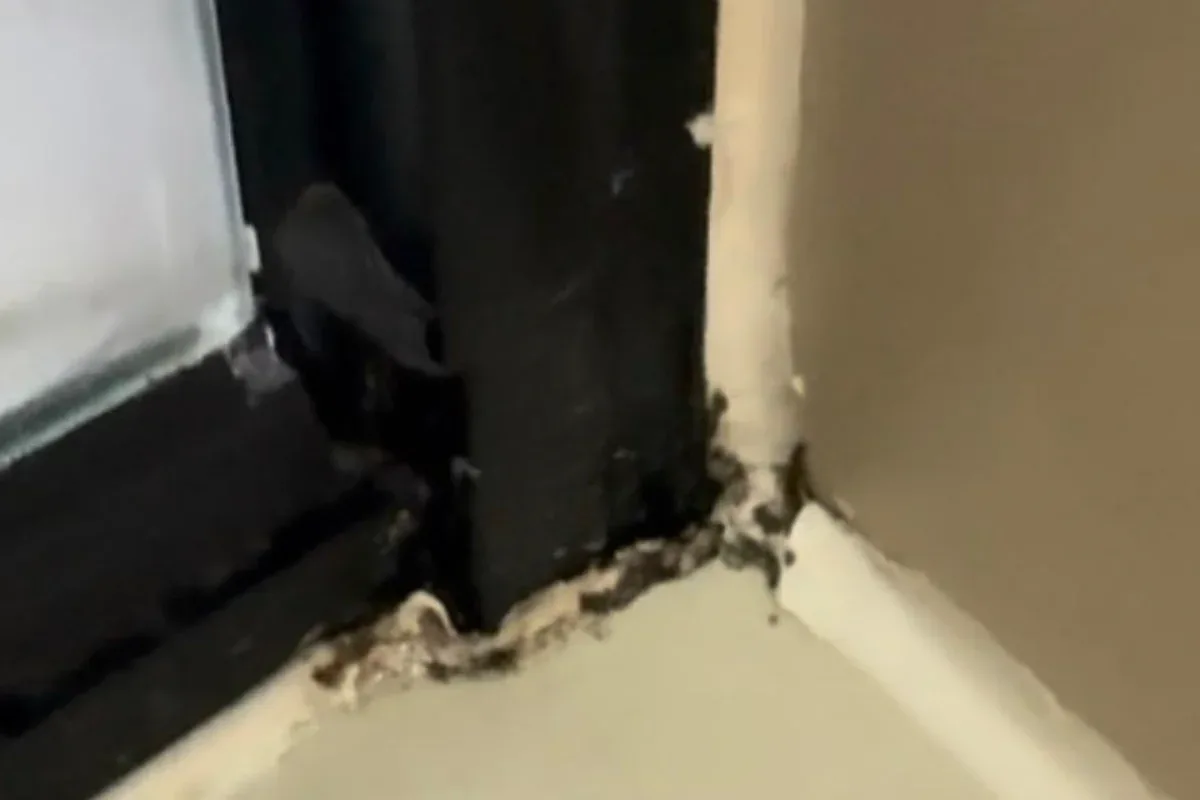
Mould coming back in the joint: scrubbing is not enough
Black specks inside the mass will not leave with chlorine. Bleach fades the colour and leaves the joint more porous; replace it.